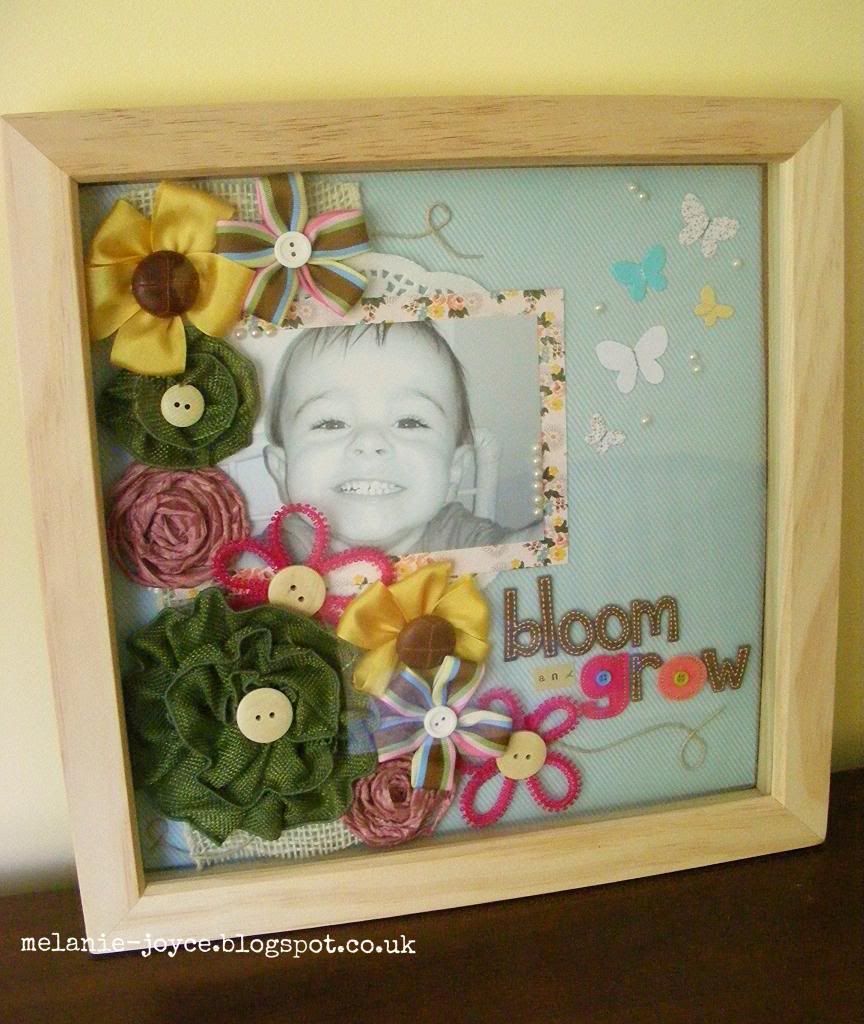
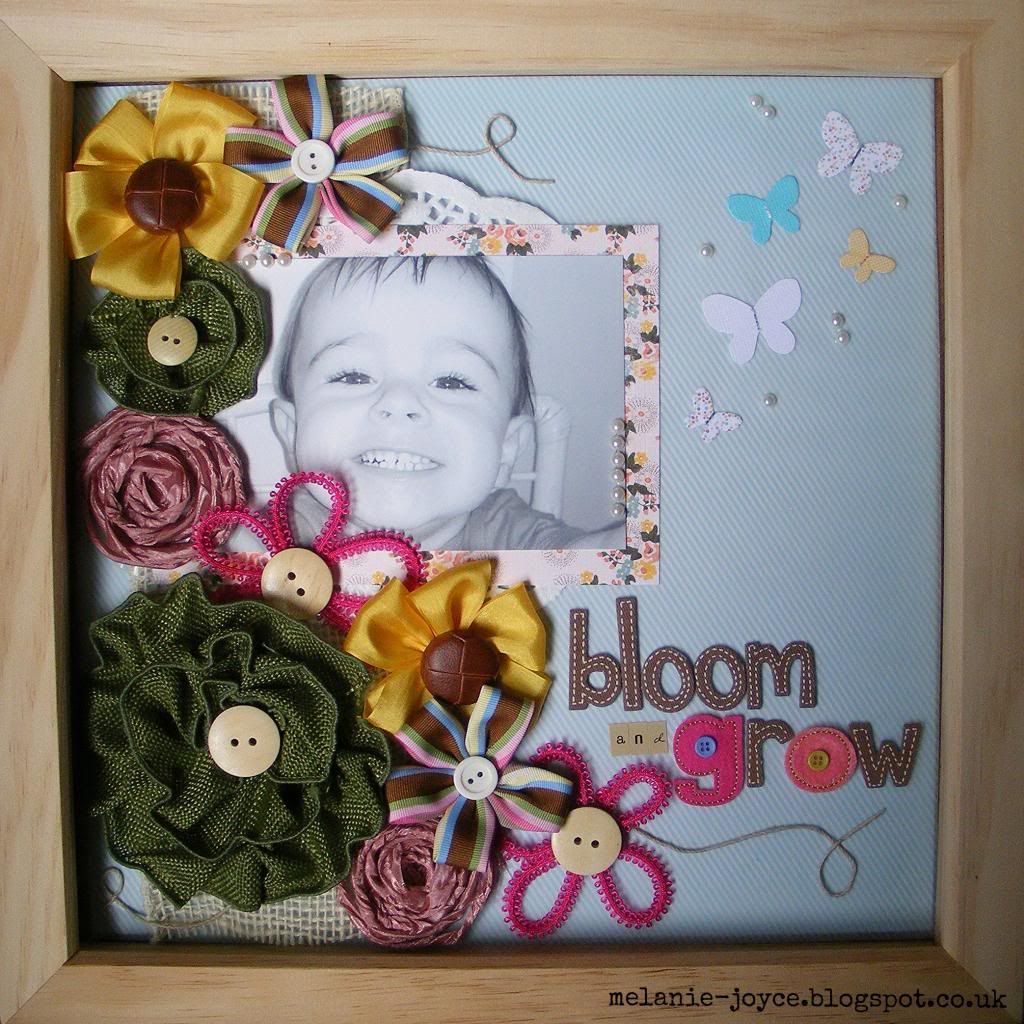
Today is the deadline for my submission to the May Arts Design Team and I'm very excited to show you my final project. It's a shadow box frame which is also part scrapbook layout, using a cascade of ribbon flowers as its focal point. I know many papercrafters may be daunted by handmade ribbon flowers, so for this project I'm going to show you that fantastic results are achievable with minimum stitching required.
To do this, I used
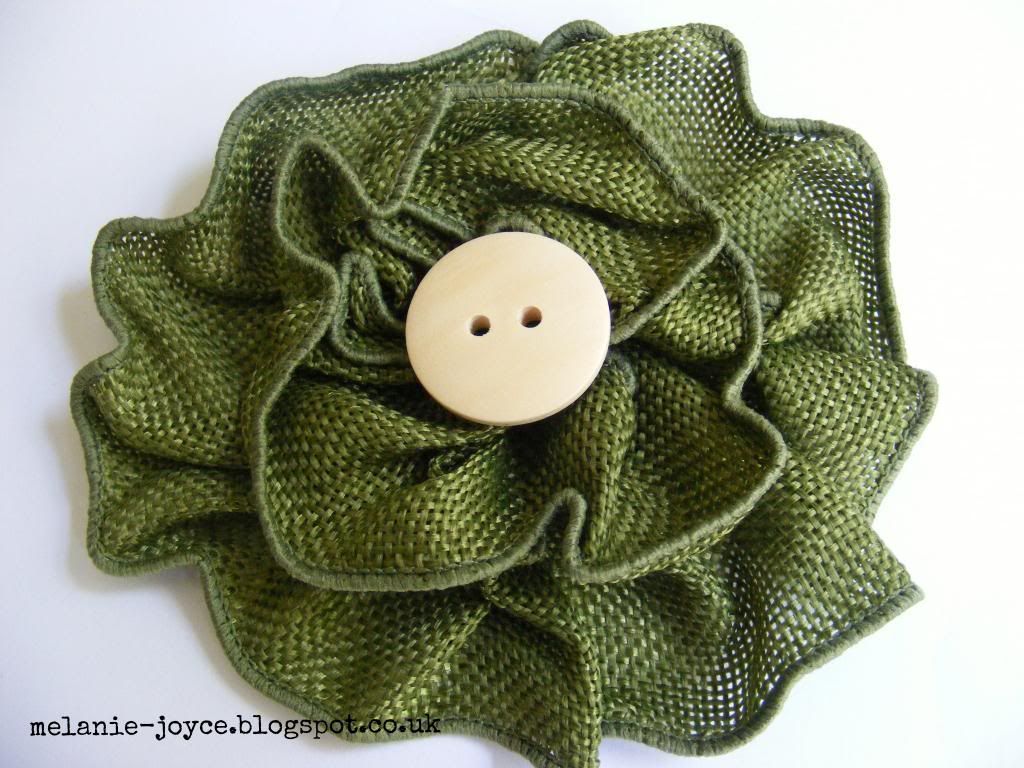
Cosmo Cricket Glubers to create some of my flowers. These are double-sided sticky pads especially for creating fabric flowers, but if you don't have them to hand you could also use a double-sided sticky sheet. Originally for the largest 3" flower you're required to use 18", 12" and 8" strips of fabric, which you hand-pleat around the edges of the Gruber, starting with the largest strip around the outside edge. However, as I was using 1.5"-wide
faux burlap wired ribbon, I only used the 18" and 12" strips to make the largest flower, and a 12" and an 8" strip for the smallest. I found the wired edges of this ribbon really handy for creating a lovely gathered effect. Here's the finished result.
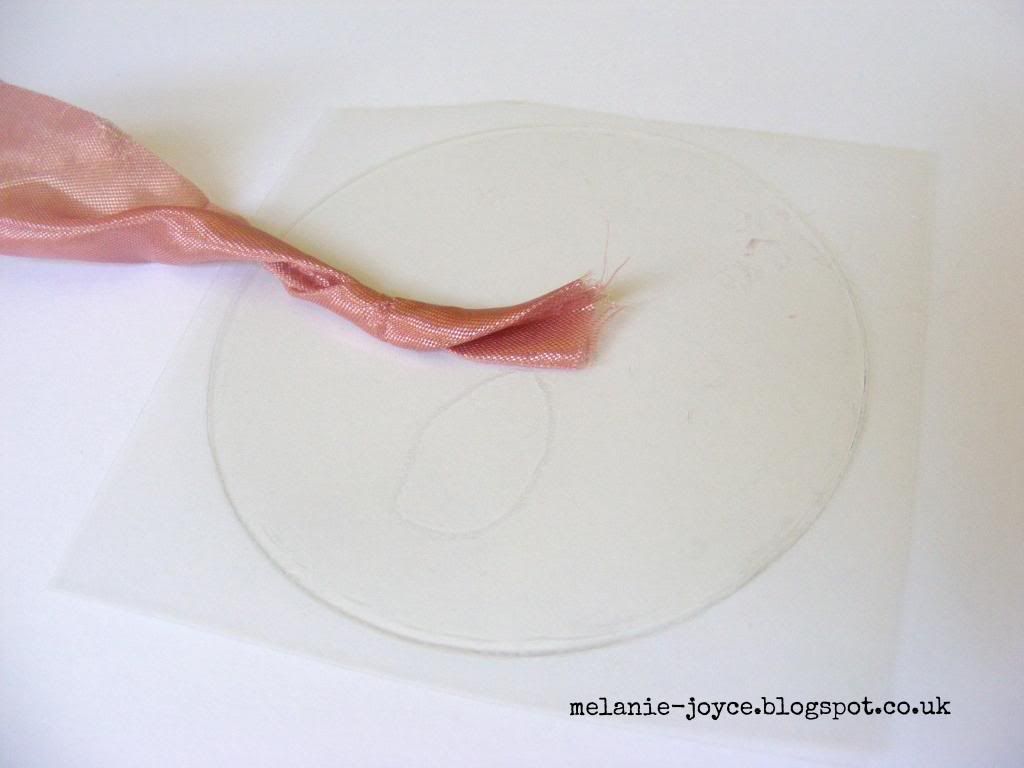
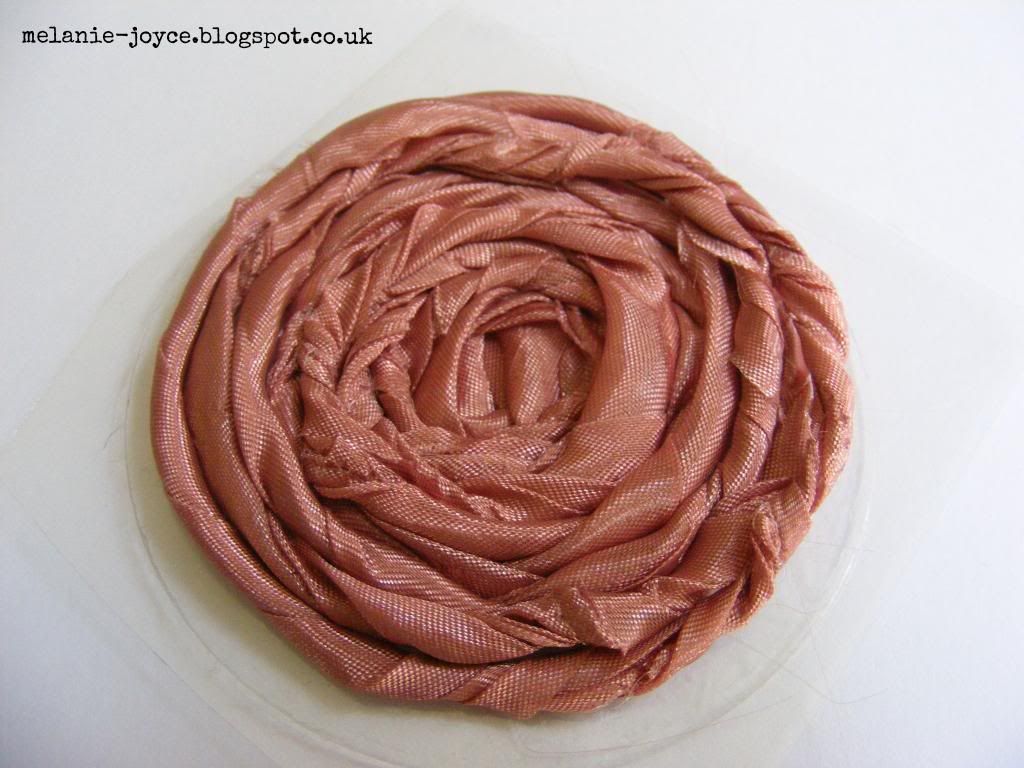
Of course, you don't have to stick to this technique to create no-stitch flowers. Another technique I've used here is the rolled technique. For this I used a yard of 2" pink
silky crush wired ribbon, which I cut in half. I then secured the end of one half to a 3" Gruber.
Carefully twist the ribbon and begin to create a spiral around the centre point, keeping the ribbon taut as you go.
Continue spiralling the flower from the centre point, carefully twisting the ribbon and pressing the flower down so that it stays stuck to the sticky pad.
Twist your ribbon until it's all stuck down and you have created a rolled ribbon rose. I have found with this amount of ribbon you will have some excess sticky pad, so simply trim around the edges of the flower to finish.
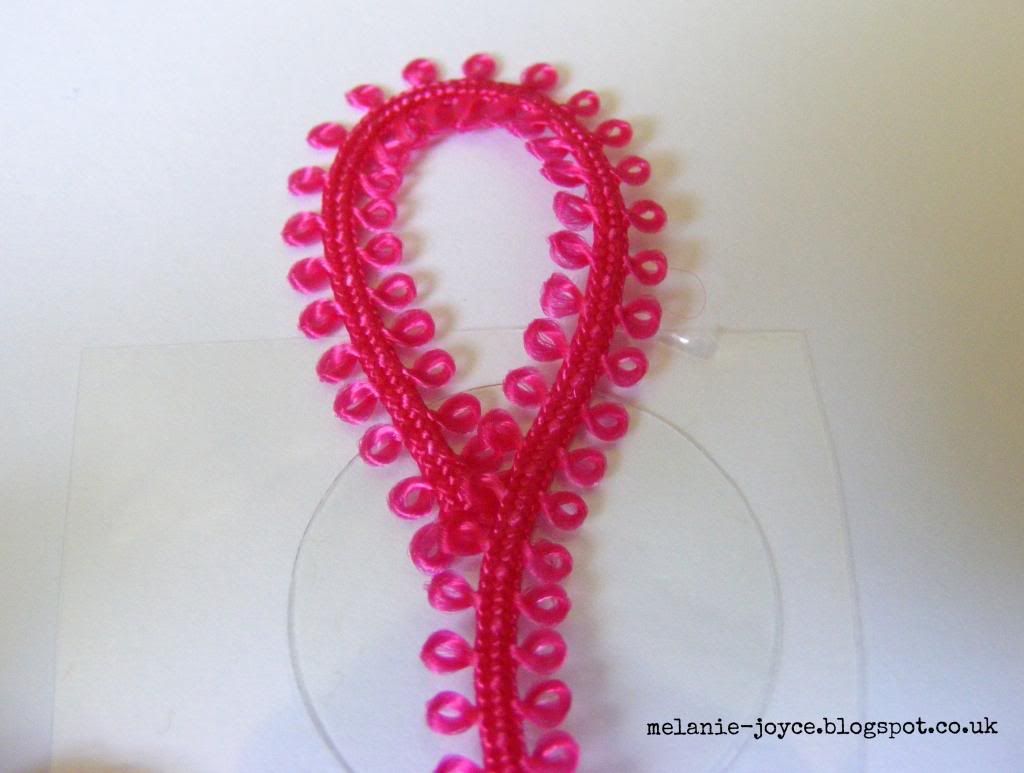
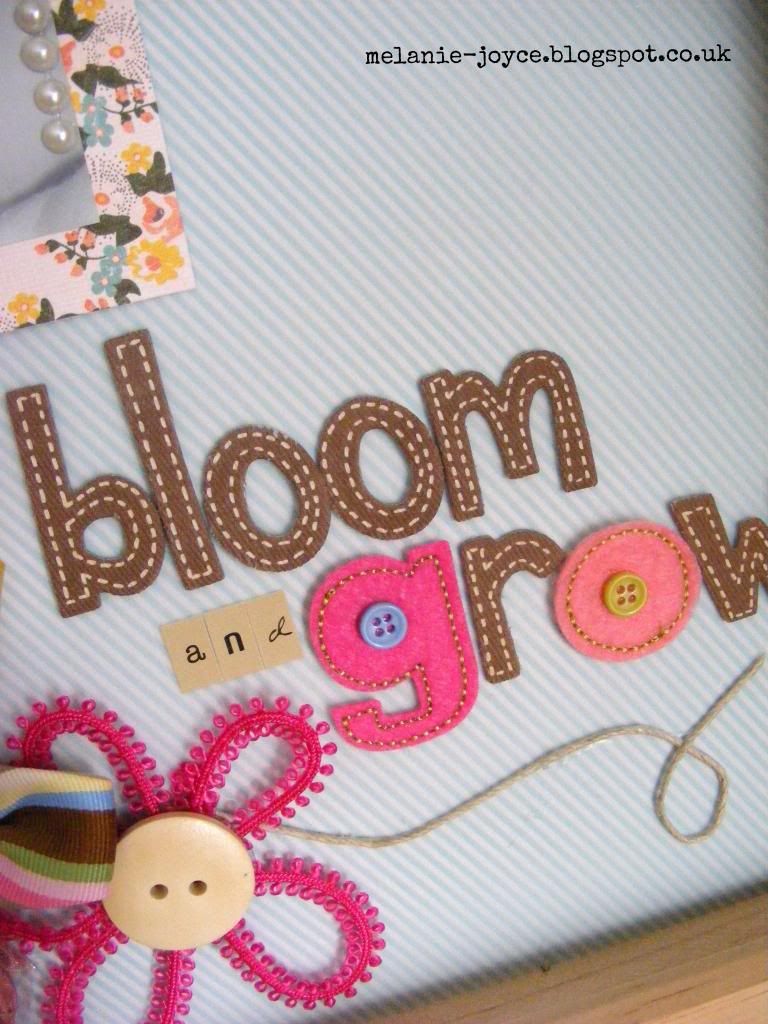
Another way of using these Grubers is to create a thin flower outline like the fuchsia flowers in this project. For this I used
string looped ribbon and the smallest 1.5" Gruber. I started by sticking the end of the ribbon to the sticky pad and creating a loop.
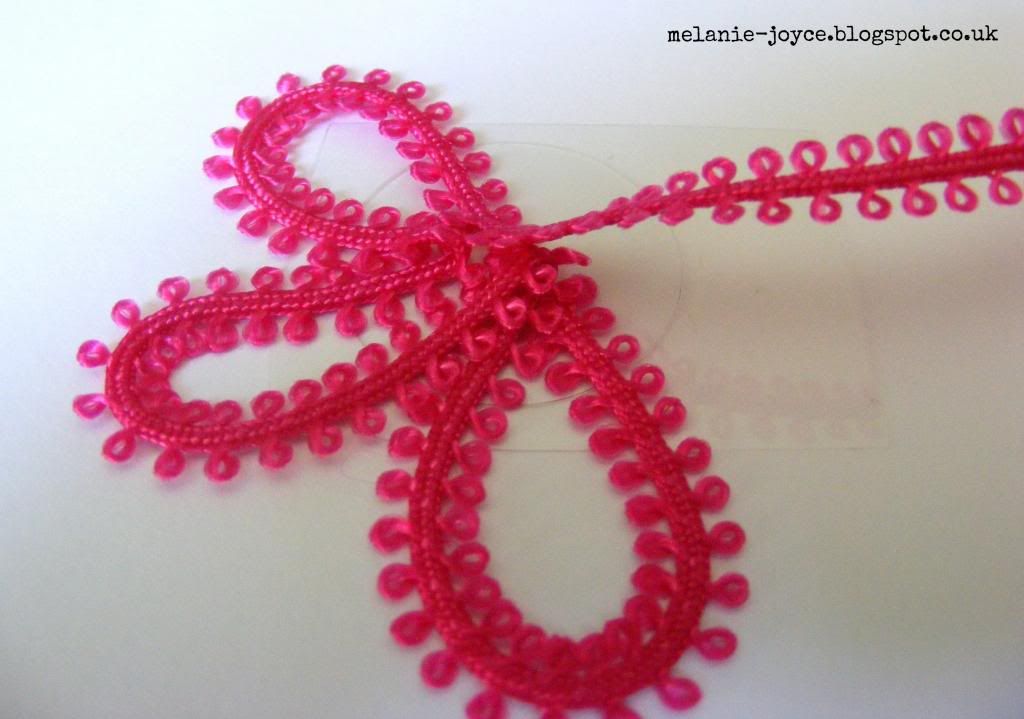
Fold back the ribbon and form into a second loop shape next to the first. Stick down and fold again to create a third petal.
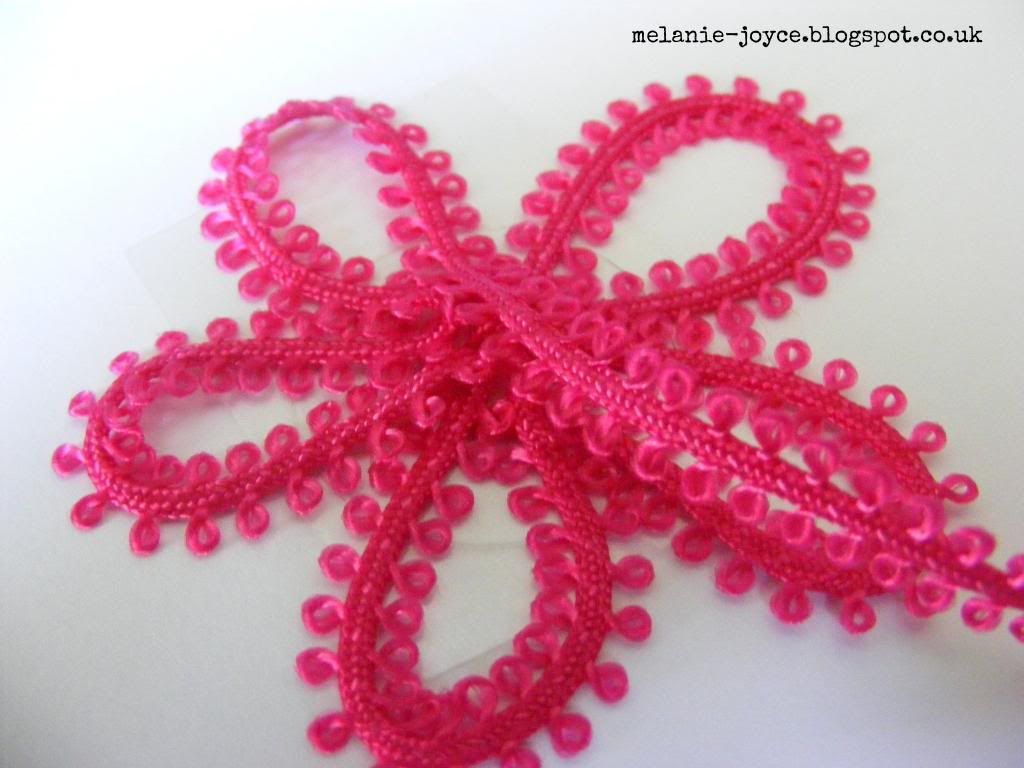
Continue forming loops until you have a total of five petals, then trim off any remaining ribbon in the centre. Don't worry about the excess ribbon, as this will be concealed at the back of the flower. Turn the flower over and cover the Gruber with a large wooden button.
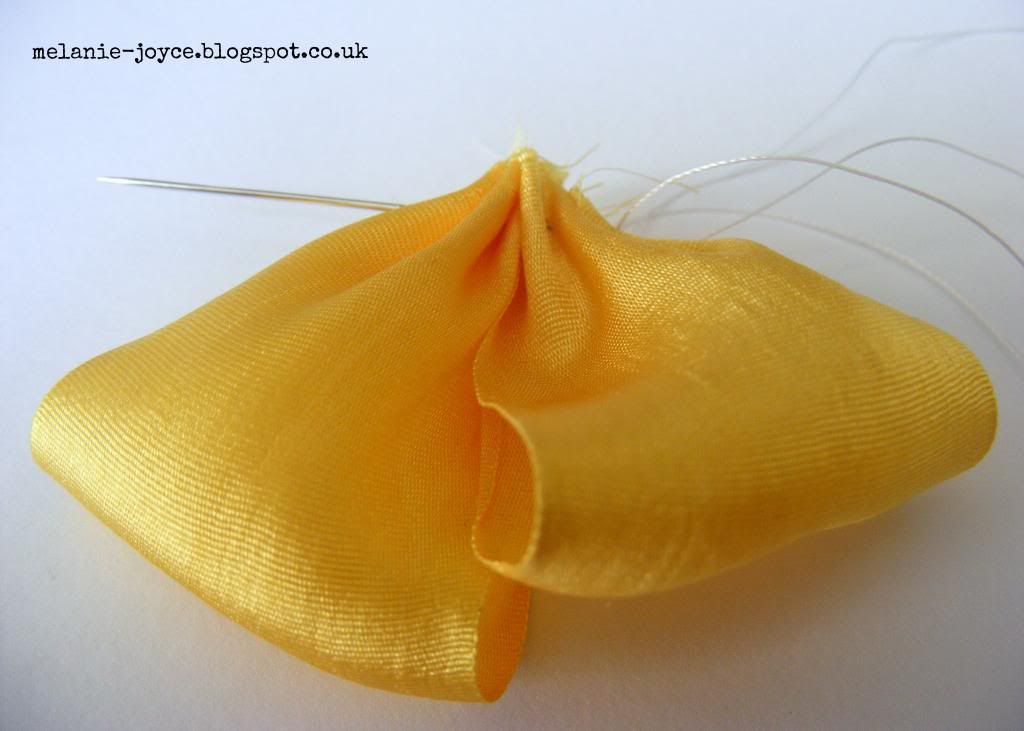
If you're feeling brave, there are ways to make beautiful flowers without large amounts of stitching involved, which is how I made my remaining two types of flower. For the yellow flower I cut five 3" pieces of
silk 1.25" ribbon. I then took my first piece of ribbon, folded it gently so the edges met and threaded a needle through, pushing the ribbon towards the end of the needle but not threading it through.
Repeat with the remaining petals, pushing each petal towards the end of the needle.
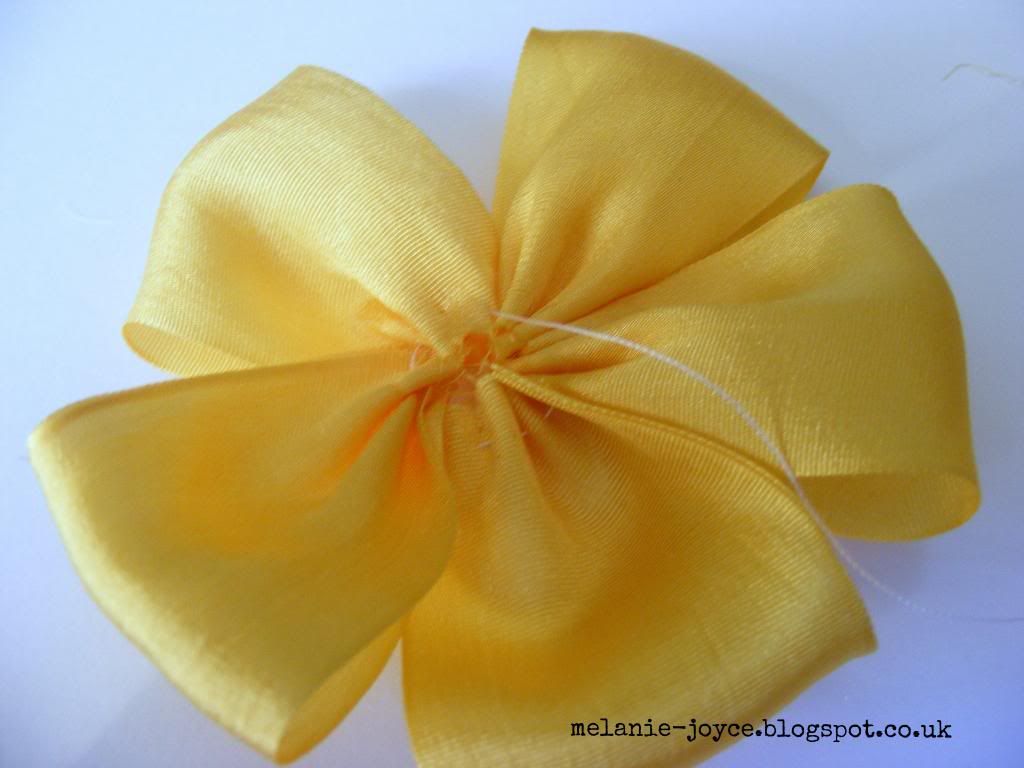
Once all five petals are threaded onto the needle, pull the thread tightly to create your flower shape. Stitch the first and last petals together and secure.
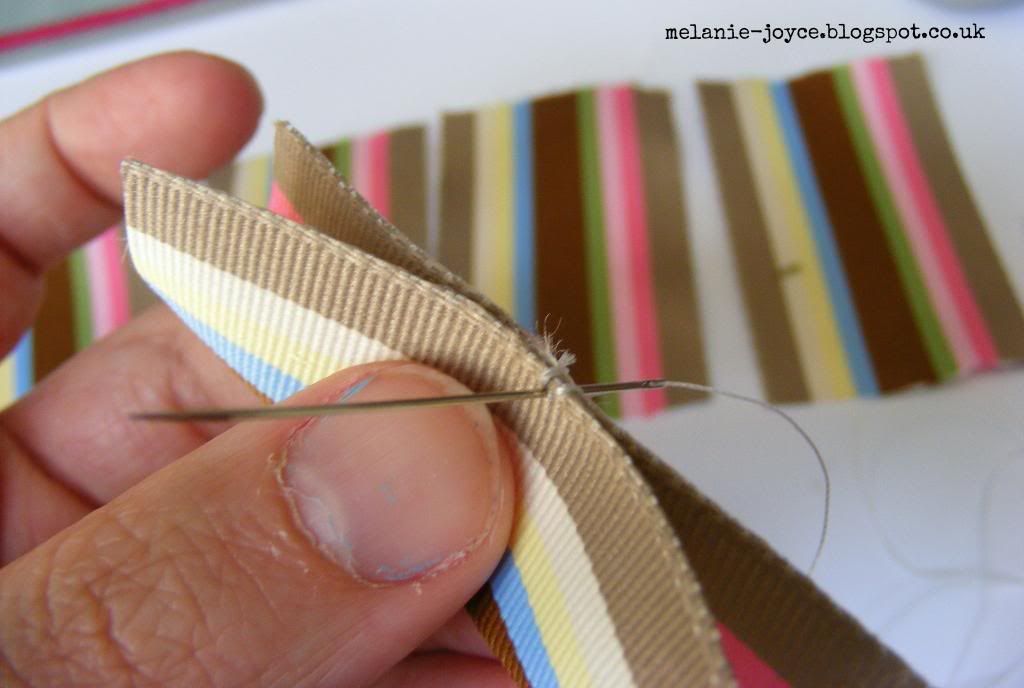
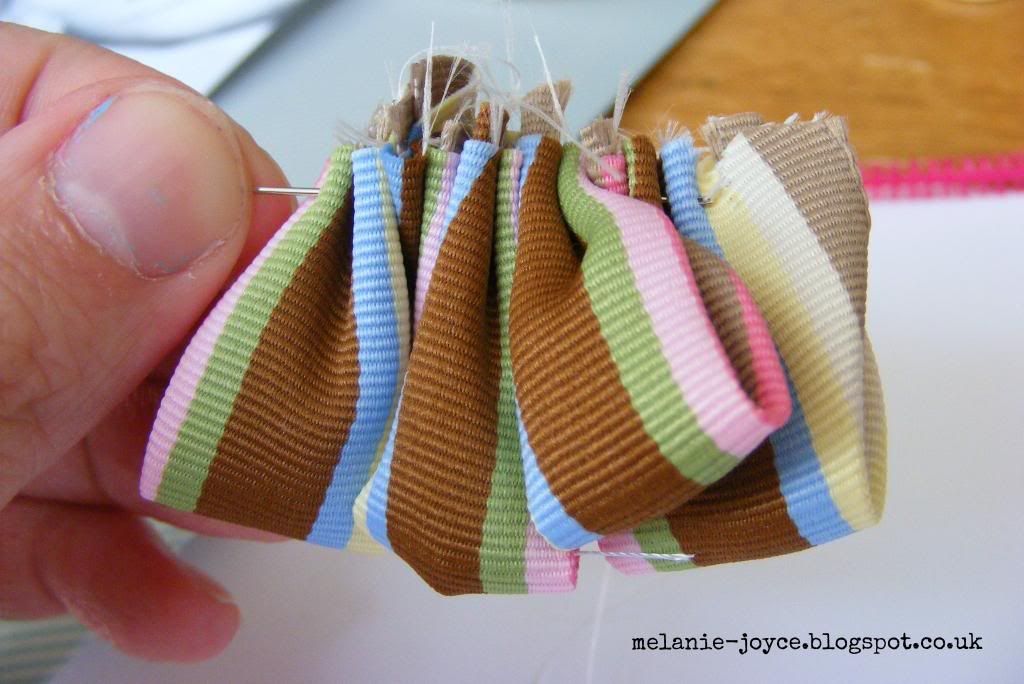
A slightly different method was used to create the striped flower. For this I used
1.5" striped grosgrain ribbon, which I cut into five 2.5" pieces. I then took my first piece and squeezed the two longest edges together, sewing them with a few simple stitches.
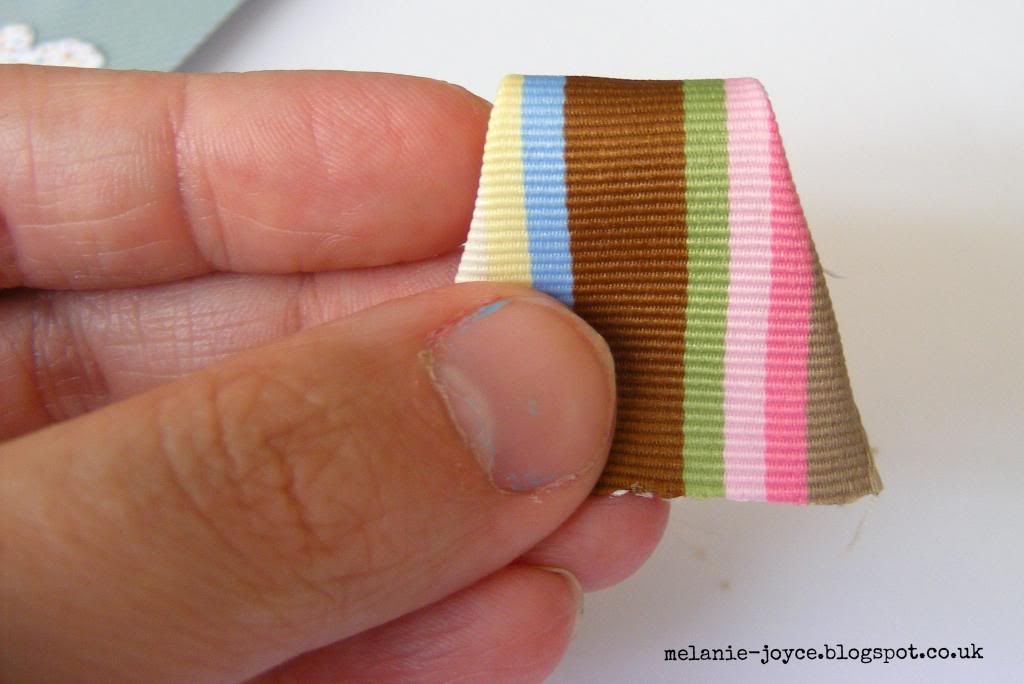
I then pushed the stitched section towards the back of the ribbon and folded over.
Once folded, your ribbon will either make a petal shape, as mine has here, or a pointed petal shape, depending on the width of the ribbon you're using.
As before, thread your first petal onto a threaded needle, pushing it towards the end of the needle as you continue adding the remaining petals.
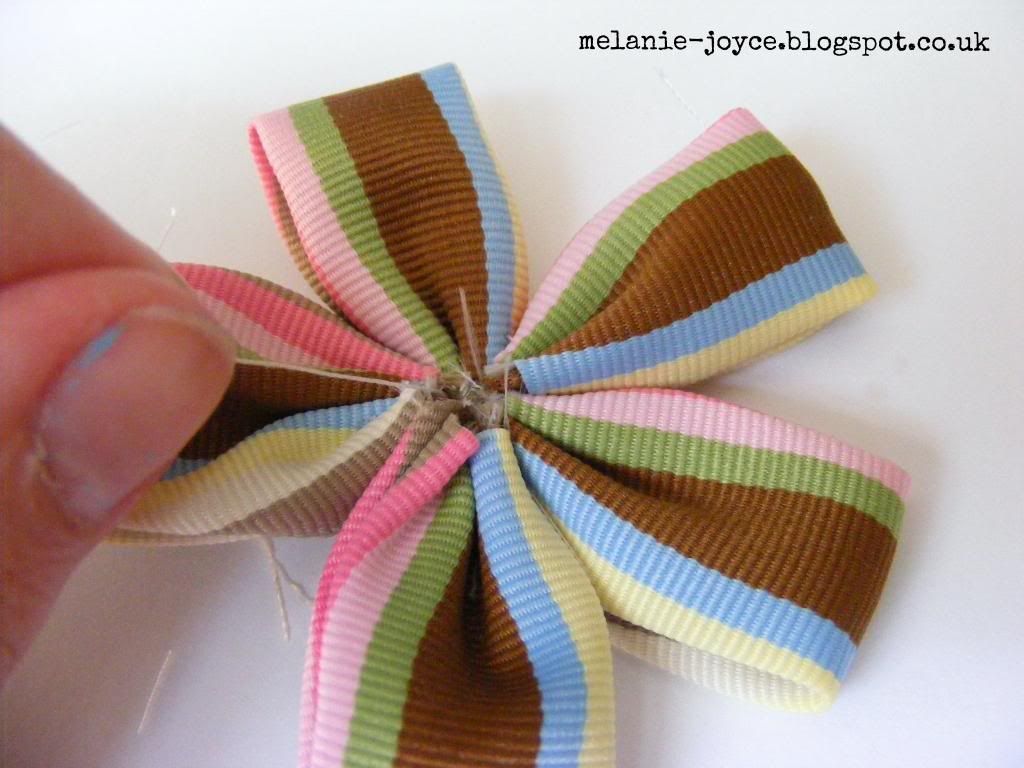
Once all five petals are on your needle, thread it through the ribbon and pull tightly. Stitch the first and last petals together to create your finished flower shape, then secure with a few extra stitches on the back of the flower.
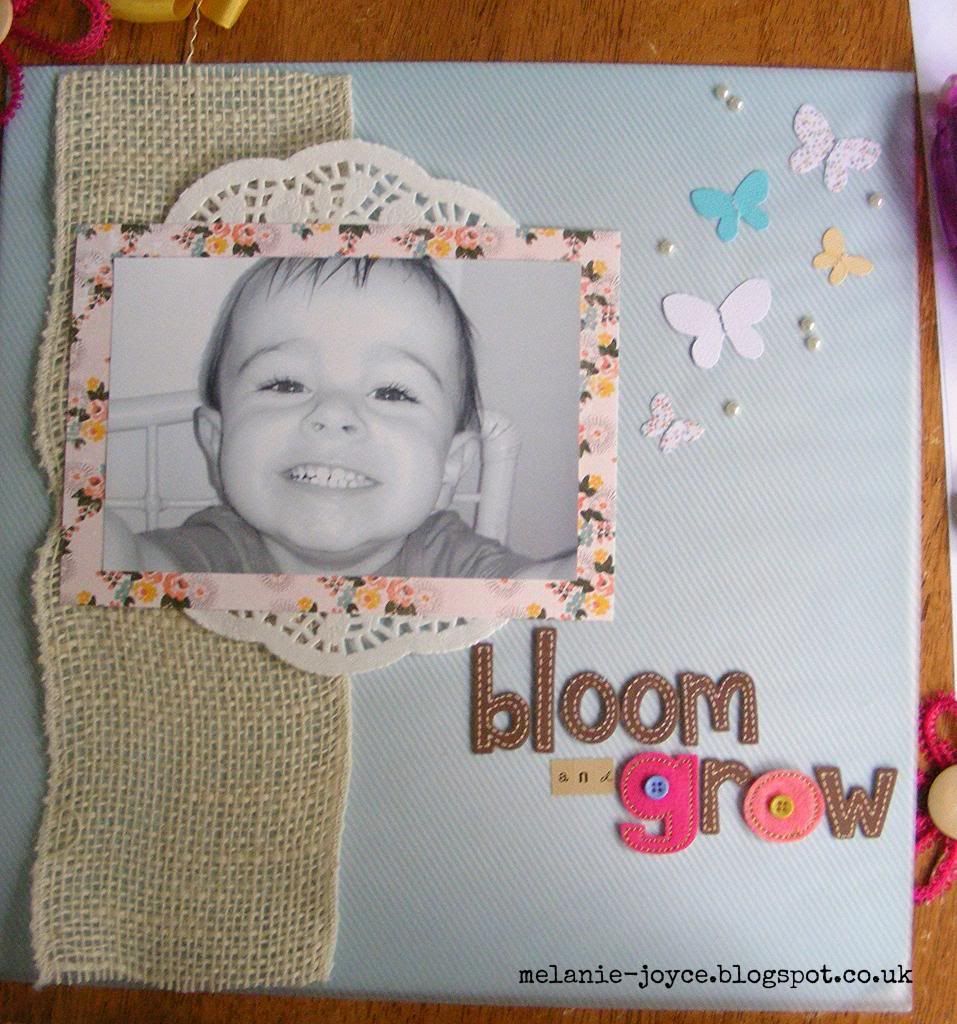
Once I had finished my flowers I secured a large piece of
4"-wide natural burlap down the left-hand side of the page. I matted my photograph with
Authentique Grace Sweetness patterned paper and adhered a small doily the photo. I then mounted it in the top-left corner of the page and added my title in the bottom-right corner.
I layered my flowers up around the left-hand side of the photograph, then added pearls and hemp twine tendrils to finish the project, before placing it in my shadow box frame. I hope you like it, I'm certainly very proud of it and even if I don't make it onto the design team, I'm sure you will definitely be seeing more ribbon flowers popping up on my cards and layouts from now on :)


This is fabulous and loving your flowers. Good Luck, I am now following :)
ReplyDeleteHugs
Linda xxx
Love your mix of flowers and all the tutorials! Such a cute shadow box layout! Best of luck!
ReplyDeleteYour layout is so pretty. I love all your different flowers and the way you made them. Thanks for sharing.
ReplyDelete