We are spending the MOST amazing week touring Barcelona and some of its neighbouring towns. I must admit I was quite scared of how Stanley would react to his first time in the air, but the flight was fine. We've rented a car and we're actually staying in a lovely little town called Vilanova I La Geltru, on a campsite that's perfect for young families. Barcelona was beautiful and a feast for the eyes. We found it terrifying to navigate in our little car and it's also really quite expensive, but a great experience nonetheless. Yesterday we visited the charming seaside town of Sitges (pronounced See-chez), which I absolutely loved, and tomorrow we're off to Taragonna - a world heritage site that's got its own Roman amphitheatre. I'll be sharing a few more images with you next week before I get back to work with some more projects! Have a great weekend :)
Friday, 26 September 2014
Friday, 19 September 2014
Sketch challenge
Hello again! It's time for a new challenge over on the Polka Doodles blog, with a rather nifty little sketch being this fortnight's challenge. I love using sketches - I should use them more often in fact! It's great how you're freed up to think about colours, images and embellishments without worrying about placement - the results are always fabulous!
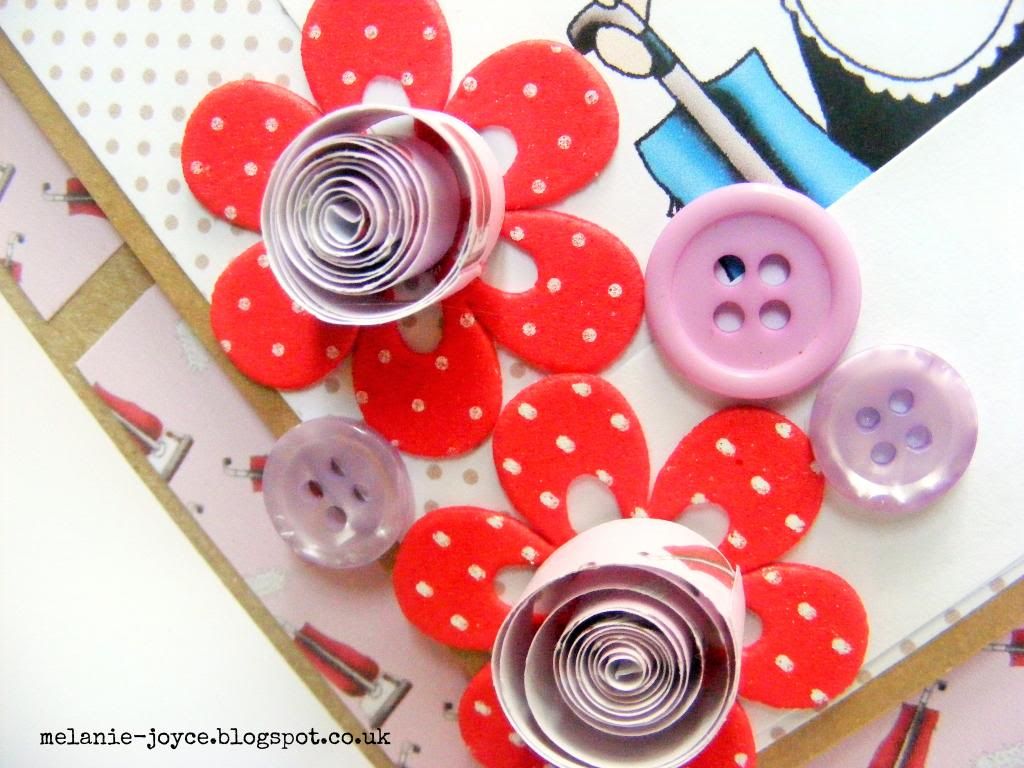
I used the Work & Play 6 CD again for this one - the cleaning lady is such a fab image and I love that vacuum-patterned paper! I've been playing with coiled flowers lately, which I made by tightly coiling a strip of patterned paper using a quilling tool. It didn't give quite enough colour, however, so some bright felt flowers remedied this, while lilac gems and buttons finished the look. I hope you like it! Have a great weekend :)
I used the Work & Play 6 CD again for this one - the cleaning lady is such a fab image and I love that vacuum-patterned paper! I've been playing with coiled flowers lately, which I made by tightly coiling a strip of patterned paper using a quilling tool. It didn't give quite enough colour, however, so some bright felt flowers remedied this, while lilac gems and buttons finished the look. I hope you like it! Have a great weekend :)
Thursday, 18 September 2014
Classique dies & Sheena embossing folders
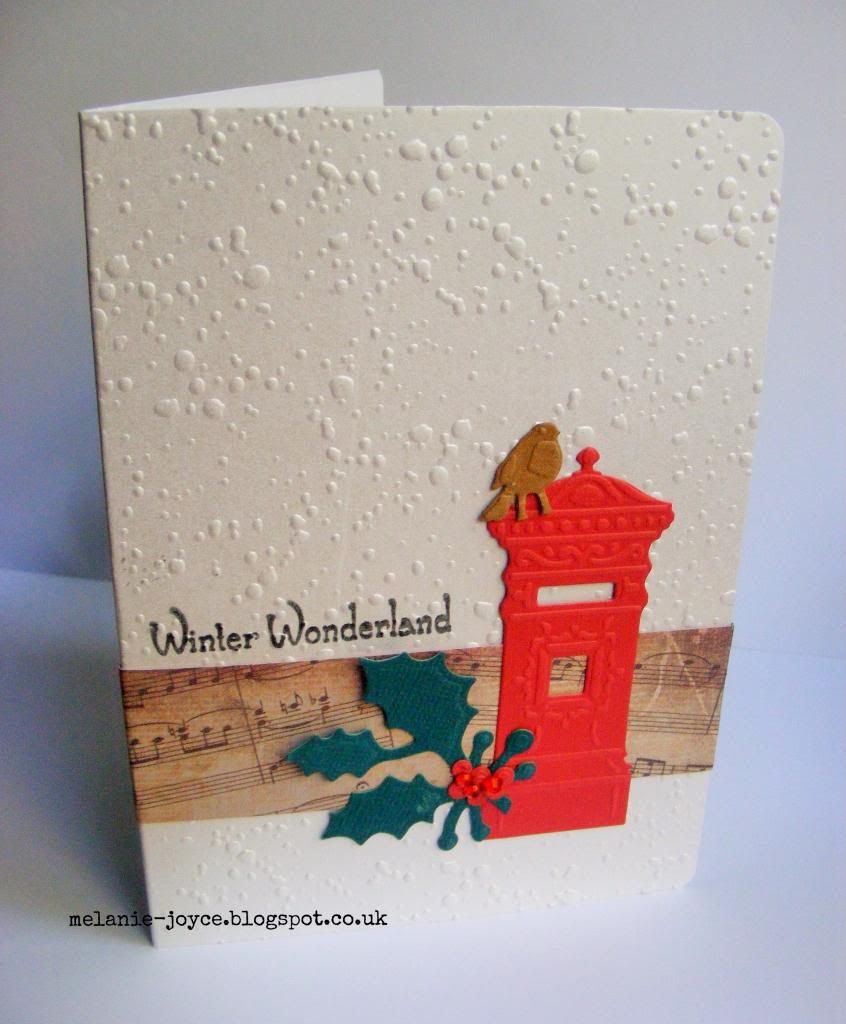
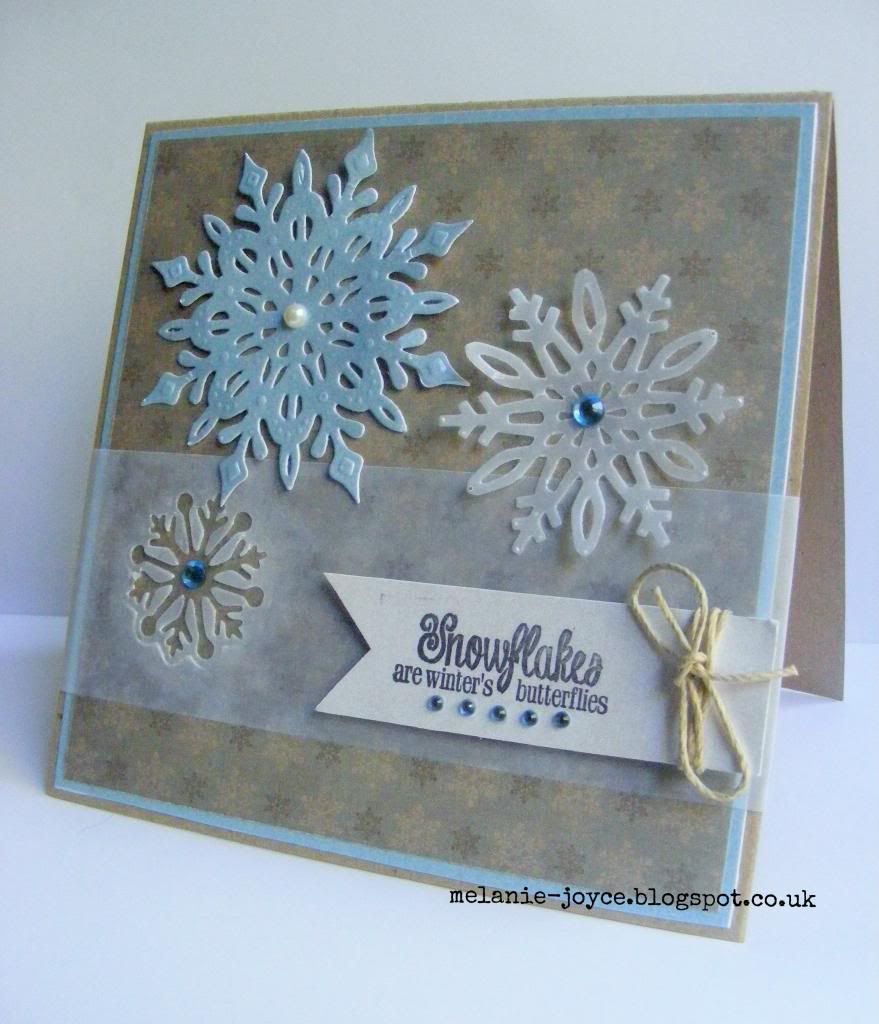
Hello lovelies! I'm going to be demonstrating at the Weavervale Garden Centre in Winnington on Saturday so I've been beavering away this week, prepping some samples and materials ready for the day. Here's a peek at some of the projects I've been working on - they're using the new Die'sire Classique Christmas dies and festive Sheena Douglas embossing folders. I absolutely love these products, particularly the Classique dies - the intricate embossed detail is beautiful, making it easy to create some gorgeous cards.
I'm not going to lie, the thick Centura Pearl cardstock used for this large snowflake took a bit of patience to remove from the die, but I think it was worth it! I also tried some negative die-cutting on vellum for the smaller snowflake, while the medium snowflake was also cut from vellum to give it a slightly transparent look. I hope you like these cards - I'll be back to show you more soon. In the meantime, wish me luck for Saturday! :)
I'm not going to lie, the thick Centura Pearl cardstock used for this large snowflake took a bit of patience to remove from the die, but I think it was worth it! I also tried some negative die-cutting on vellum for the smaller snowflake, while the medium snowflake was also cut from vellum to give it a slightly transparent look. I hope you like these cards - I'll be back to show you more soon. In the meantime, wish me luck for Saturday! :)
Friday, 12 September 2014
Tag you're it
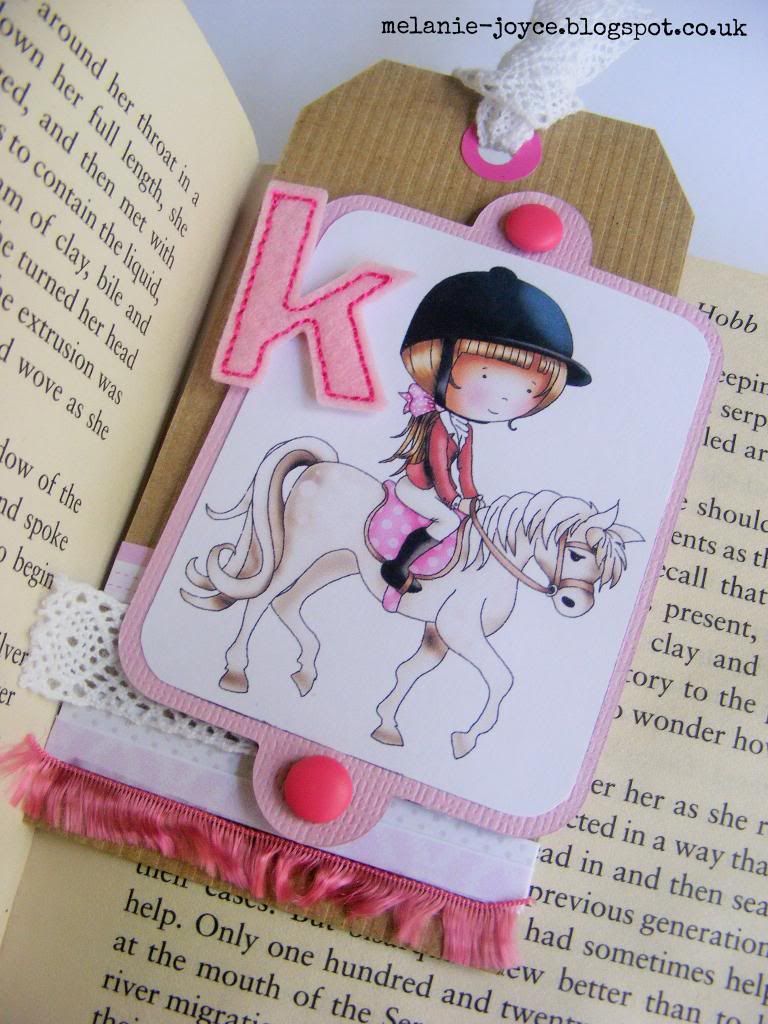
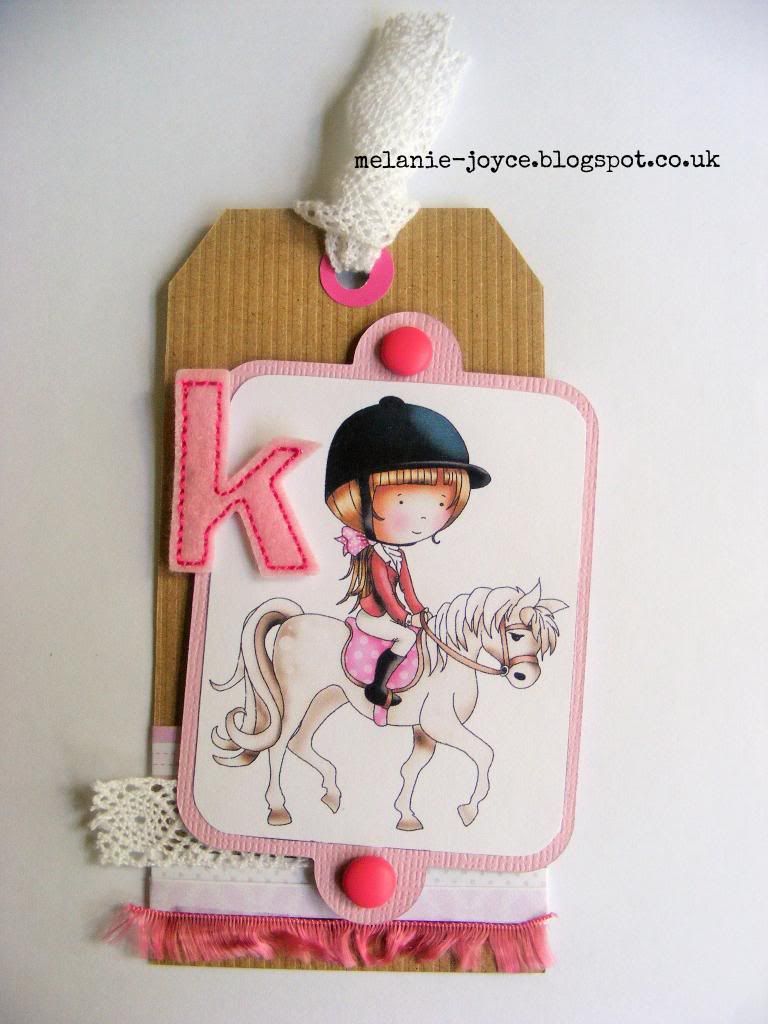
It's time for another challenge over on the Polka Doodles blog, and this week the theme is tags. I used the Polka Doodles Work & Play 6 CD for this one, which features a fab horse-themed section for little girls. I made a girlie door plaque using this image a few weeks ago and thought it would make a great personalised tag bookmark too.
I searched in my stash for ages as I was sure I had some large kraft luggage tags, but I couldn't find them so hand-cut my own instead. I placed a pink circle sticker at the top and punched a hole through the centre, then tied it with a piece of my favourite lace trim - I've been using this on so many projects lately! As the image was quite small, I decided not to fussy-cut it but adhered it to a pink die-cut label instead. Some patterned paper strips, pink trim and brads and a felt letter finished off my tag perfectly. A cute little quick make for that special little girl! Thanks for taking a look :)
I searched in my stash for ages as I was sure I had some large kraft luggage tags, but I couldn't find them so hand-cut my own instead. I placed a pink circle sticker at the top and punched a hole through the centre, then tied it with a piece of my favourite lace trim - I've been using this on so many projects lately! As the image was quite small, I decided not to fussy-cut it but adhered it to a pink die-cut label instead. Some patterned paper strips, pink trim and brads and a felt letter finished off my tag perfectly. A cute little quick make for that special little girl! Thanks for taking a look :)
Thursday, 11 September 2014
Newborn box frame
Hello again lovelies! I hope you're having a good week? Mine started off action-packed but positive - lots of jobs that I felt confident could be done before our holiday. Unfortunately, Stanley's caught a cold and I think I have too, because today I felt well and truly burnt out and I feel like I'm losing track of my to-do list! Having spent the last few years feeling like this in a manic office with tight deadlines, I don't panic about it anymore - I simply prioritise. And I'm sure I'll be able to catch up next week - hopefully!! ;)
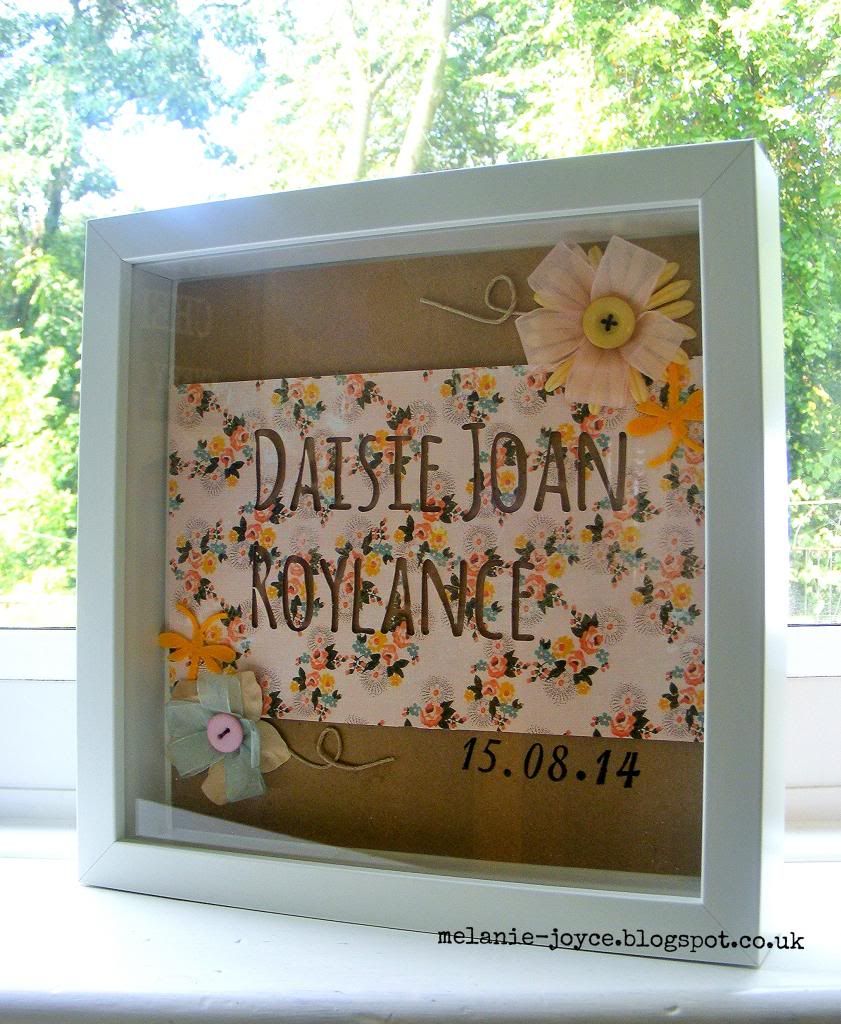
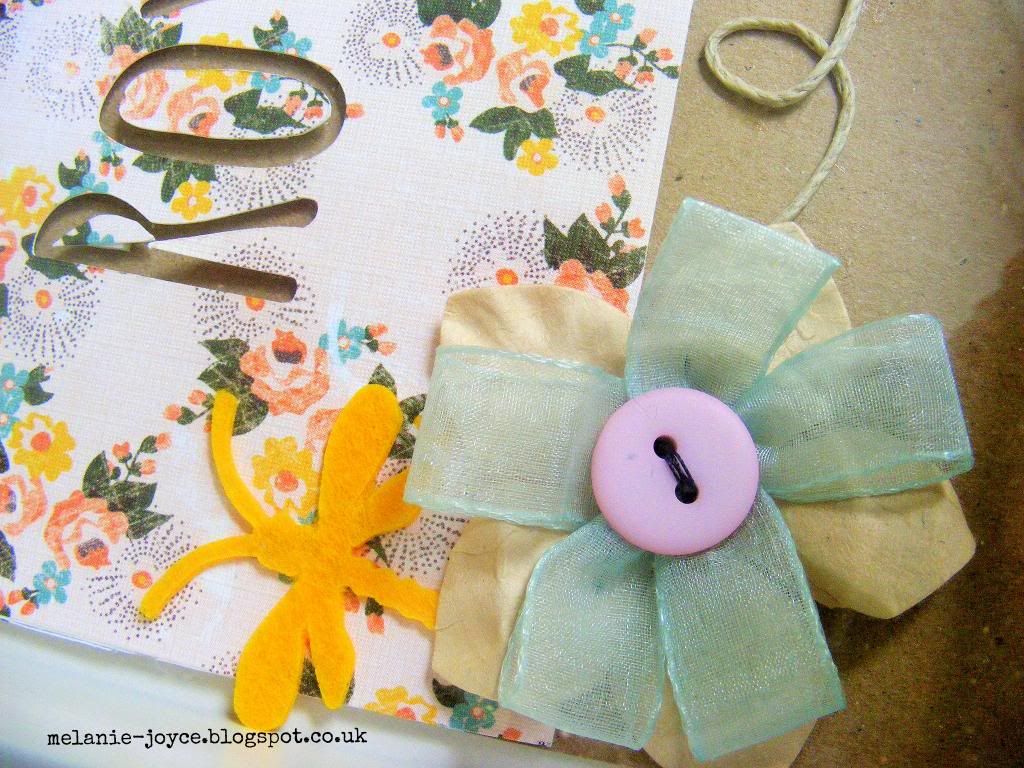
Well... on to today's project. It's all gone a bit girlie at the moment, after two of the mummies in our group have both given birth to daughters over the last few weeks. I decided to make a box frame for both of them featuring their name and date of birth for their mummies to hang in their nurseries. This is the first one I made, using the Silhouette to cut the baby's name into a piece of lovely feminine patterned paper. I hand-made the organza ribbon flowers, stitched a button to the centre and layered them over a cream paper flower to give extra definition. This little girl has been really poorly and in hospital recently, but thank goodness is now on the mend, so it was extra nice to give this frame to her brave mummy. That's it for now, but I'll have another one to show you very soon :)
Well... on to today's project. It's all gone a bit girlie at the moment, after two of the mummies in our group have both given birth to daughters over the last few weeks. I decided to make a box frame for both of them featuring their name and date of birth for their mummies to hang in their nurseries. This is the first one I made, using the Silhouette to cut the baby's name into a piece of lovely feminine patterned paper. I hand-made the organza ribbon flowers, stitched a button to the centre and layered them over a cream paper flower to give extra definition. This little girl has been really poorly and in hospital recently, but thank goodness is now on the mend, so it was extra nice to give this frame to her brave mummy. That's it for now, but I'll have another one to show you very soon :)
Saturday, 6 September 2014
Love and cherish
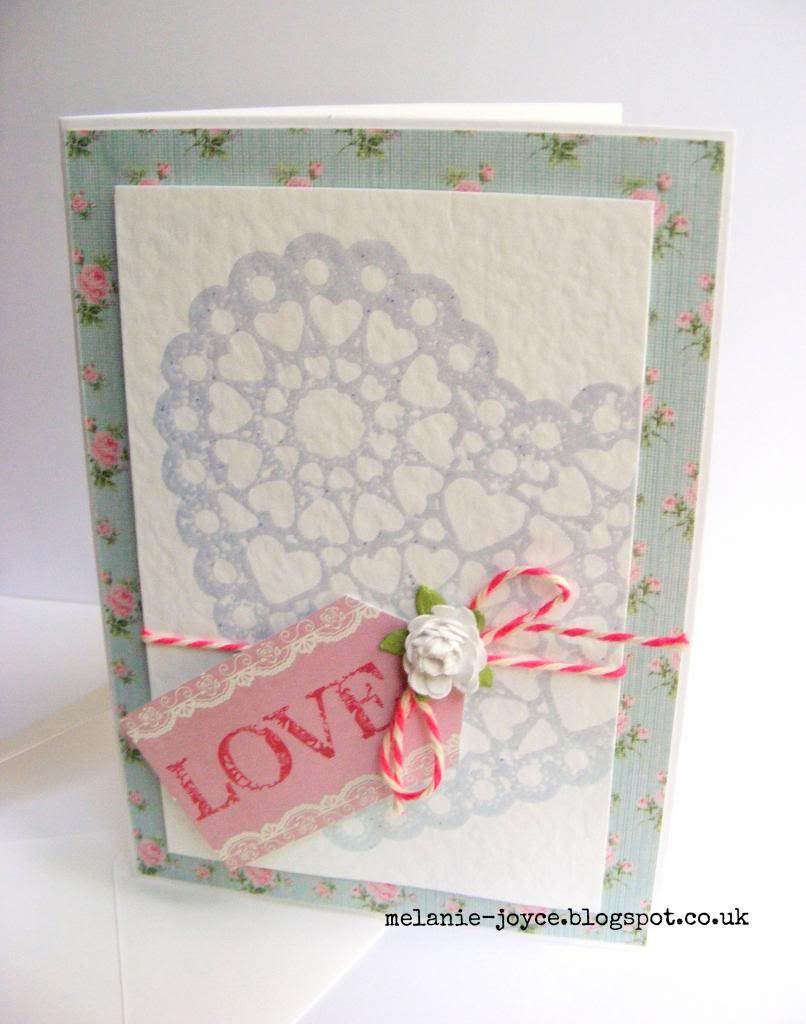
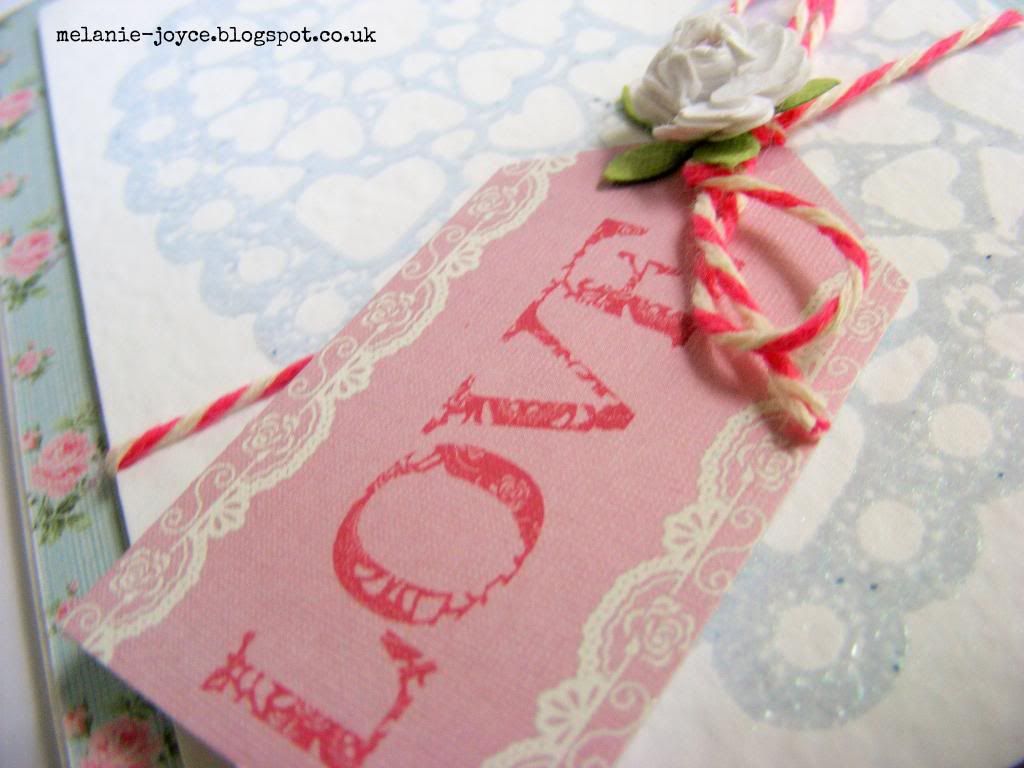
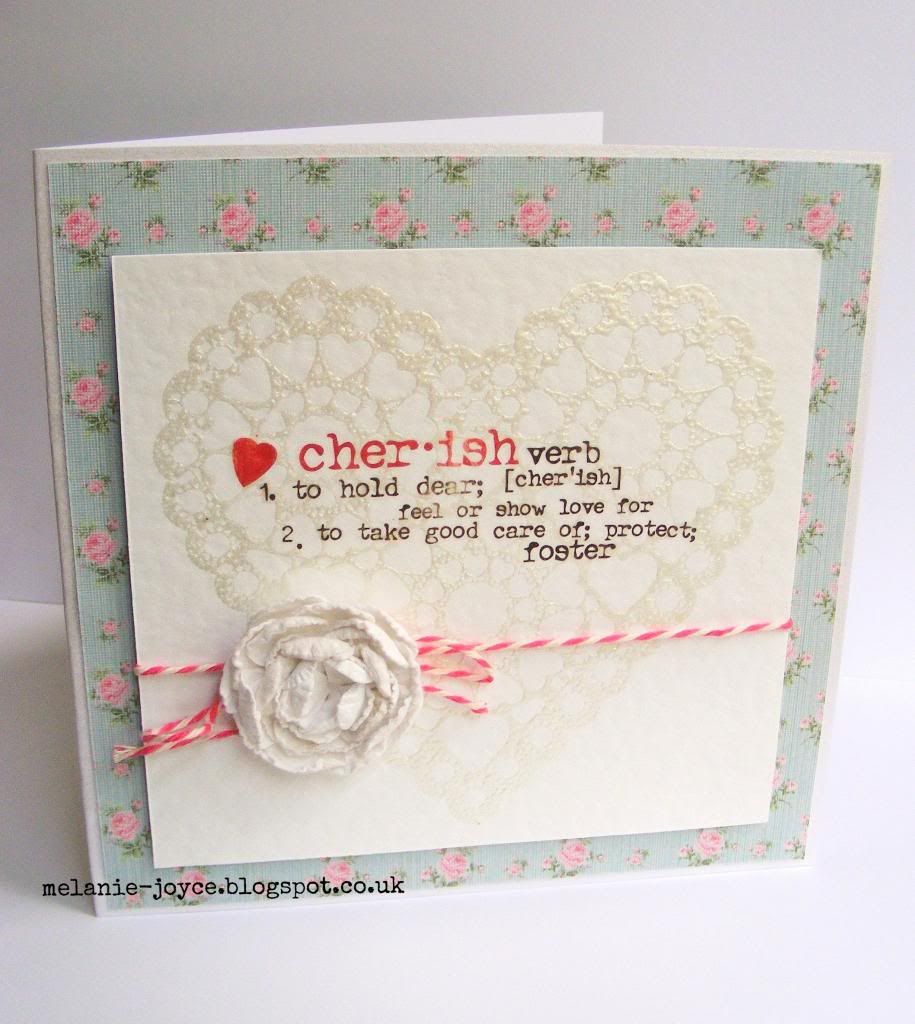
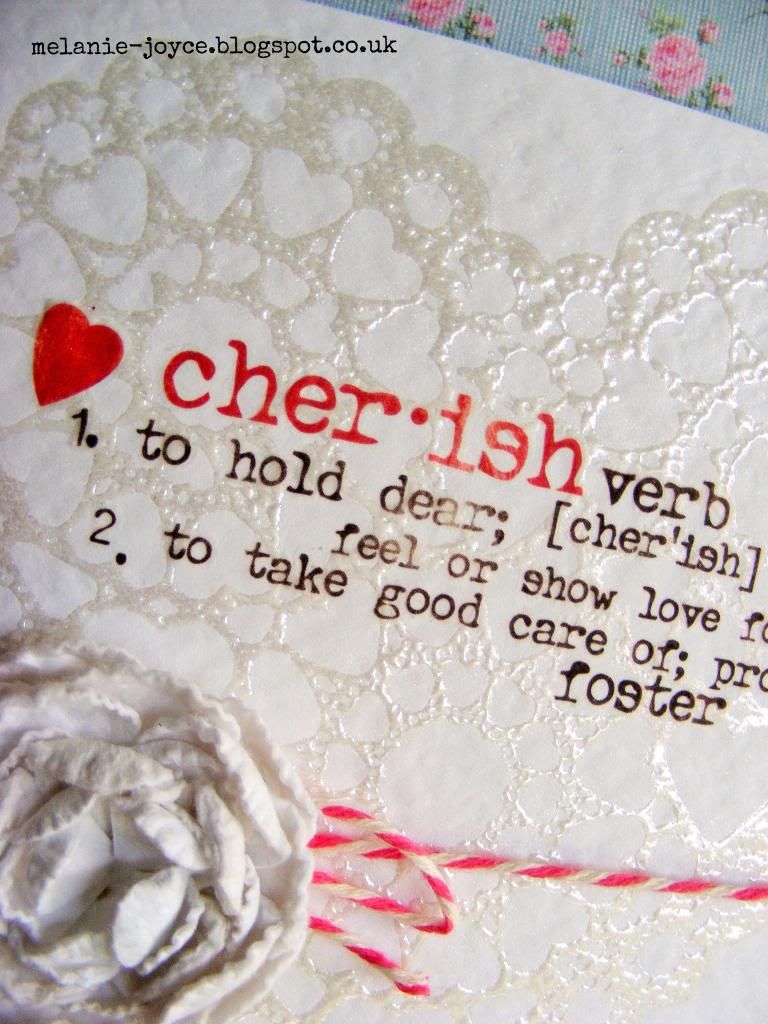
My final wedding card commission uses the same white-on-white embossed heart as previously mentioned, as well as the BoBunny rub-ons, pink baker's twine and white handmade flower I used last time. The only real difference is the Papermania Vintage Notes patterned paper, which I think gives it a more traditional feel to it. I've loved having these commissions and being free from the normal constraints of magazine briefs that require certain products and techniques - I've just been able to please myself, which has led me to this fab design. There's lots more to come, as I'll be working on my birthday cards and shadow boxes next. I'll be back soon to share more! Have a great week :)
Tuesday, 2 September 2014
Yay for scrapbooking!
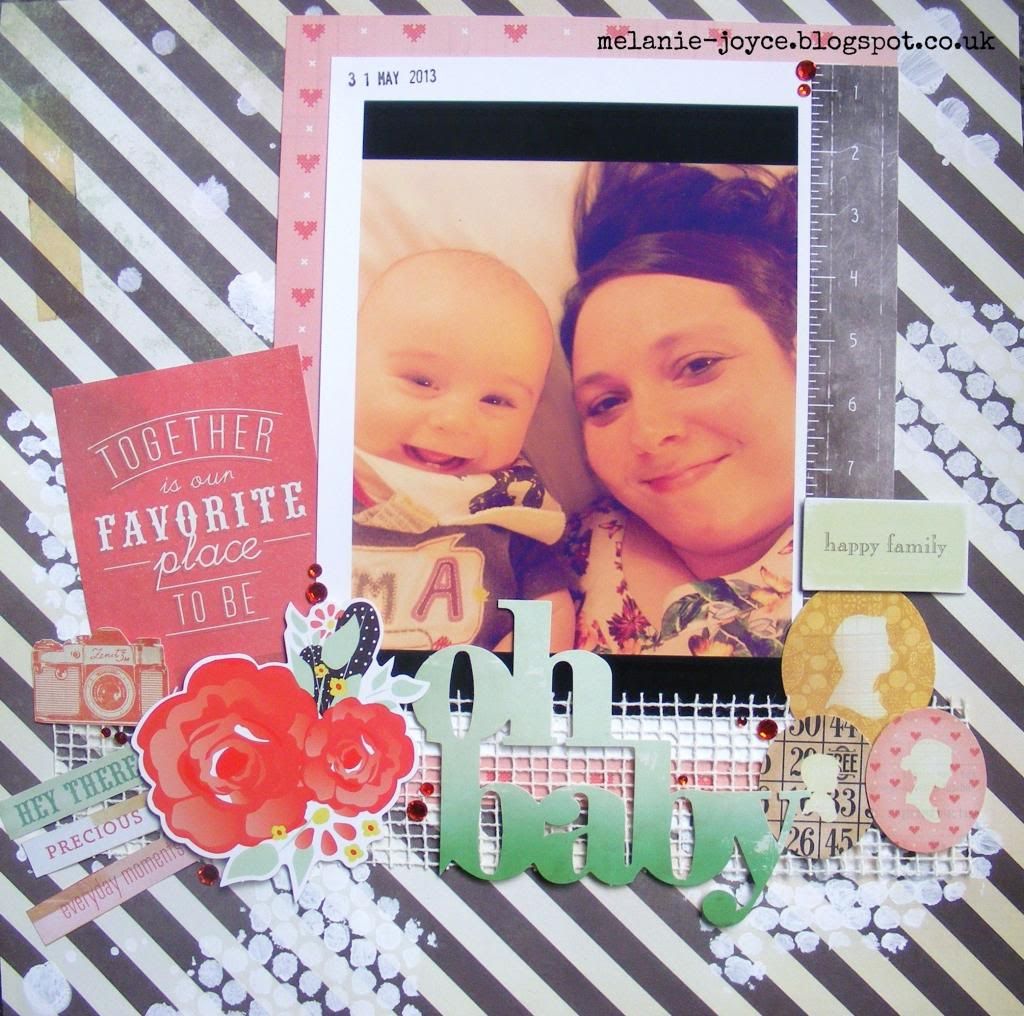
A few weeks ago I shared a layout that featured in Scrapbook Magazine 83 and promised to share some more with you. Well here they are - I'm super proud of them, my style is definitely evolving and I'm loving all the clustered embellishments, it's definitely a technique I will keep using! As before, the focus of the feature was dry-brushing with acrylic paint. For the 'Oh baby' layout I used a mask and white acrylic paint to add the splattered dotty effect to the striped background. A brightly-coloured photo and embellishments were all that was needed to make it 'pop', right down to the little red gems scattered throughout the page.
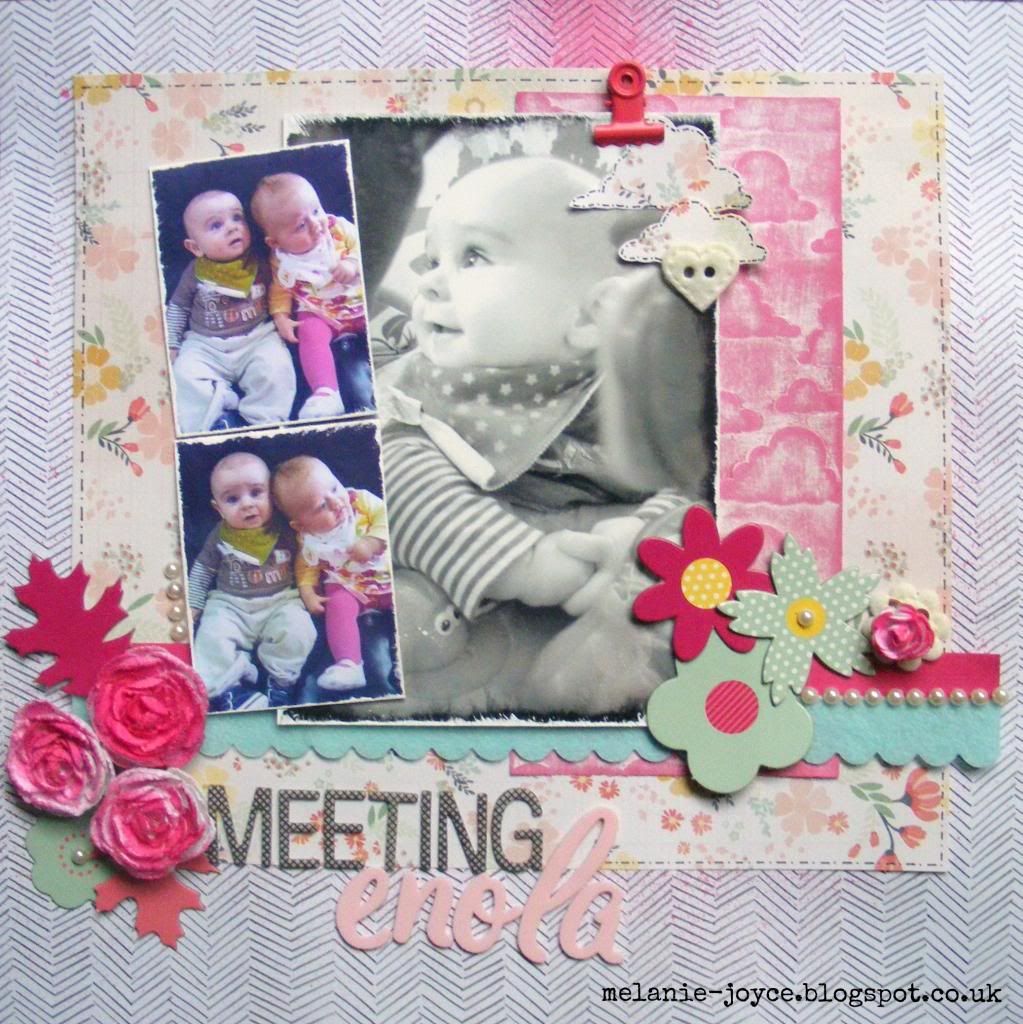
The 'Meeting Enola' layout is similar in that I've used a monochrome background with hot pink and turquoise accents for maximum effect. This time I dry-brushed some embossed pink cardstock with white paint then sanded when dry to give a distressed effect to my photo matt. The Die-sire Clouds embossing folder is one of my favourites, and was used again to create the patterned clouds in the top-right of the photo.
Of course, the subject of both pages had to be my little pud. They're fairly old photos that were taken last year. Enola, the little girl pictured in the bottom page, is my cousin's daughter. There's only a few weeks between them, and it was so cute to see them together when we met up for a coffee at a local play centre. I feel like I haven't taken nearly as many photos this year. I feel so sad and guilty about that, but I know it's partly because I'm so busy and partly because it's getting harder and harder to get a decent photo of my wriggly boy these days! I've decided I'm going to make more of an effort though - maybe there'll even be another layout of my nearly 2-year-old in the near future! That's all for now - thanks for looking :)
Subscribe to:
Comments (Atom)


