Friday, 11 July 2014

Simply Homemade issue 44

Hello again. Just a quick one from me today as I've been busy prepping a demo for Saturday at Sycamore Park Garden Centre in Sutton. I'll be there from 10am-4pm, so if you're visiting the area (and you're not at the Doncaster show!), please pop in and say hi.
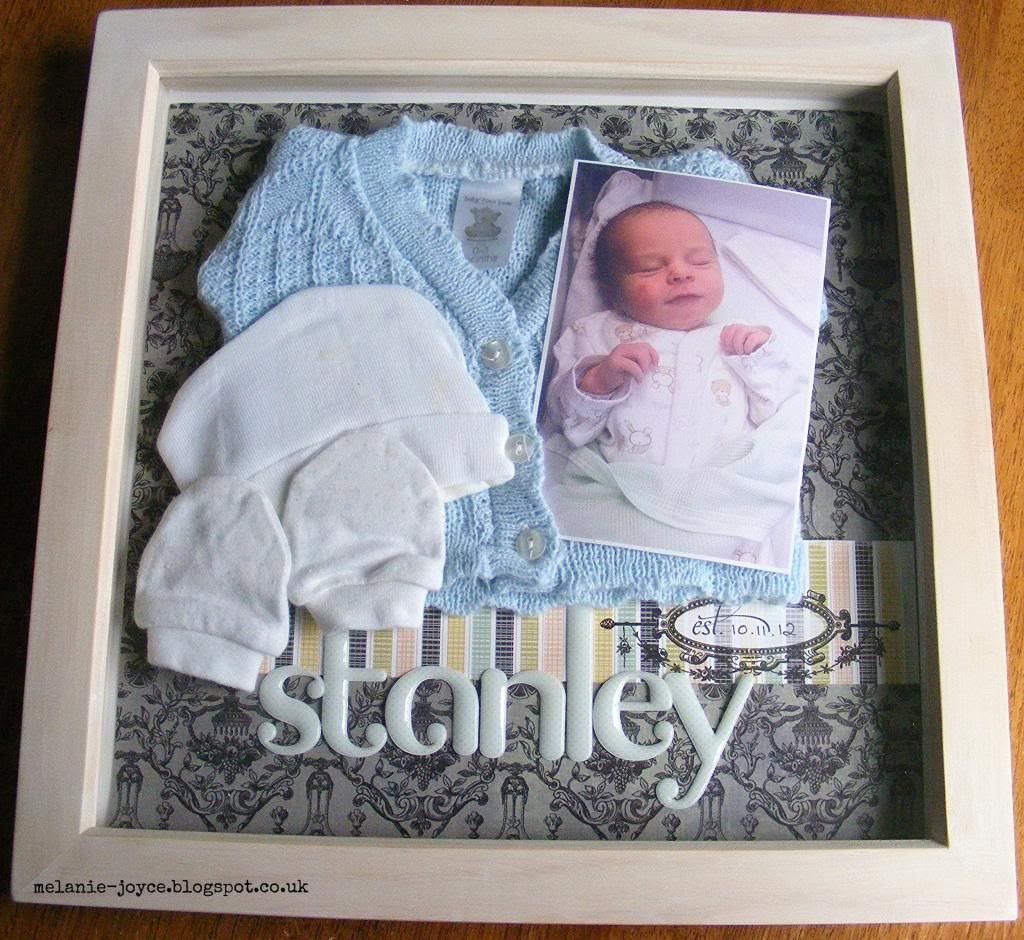
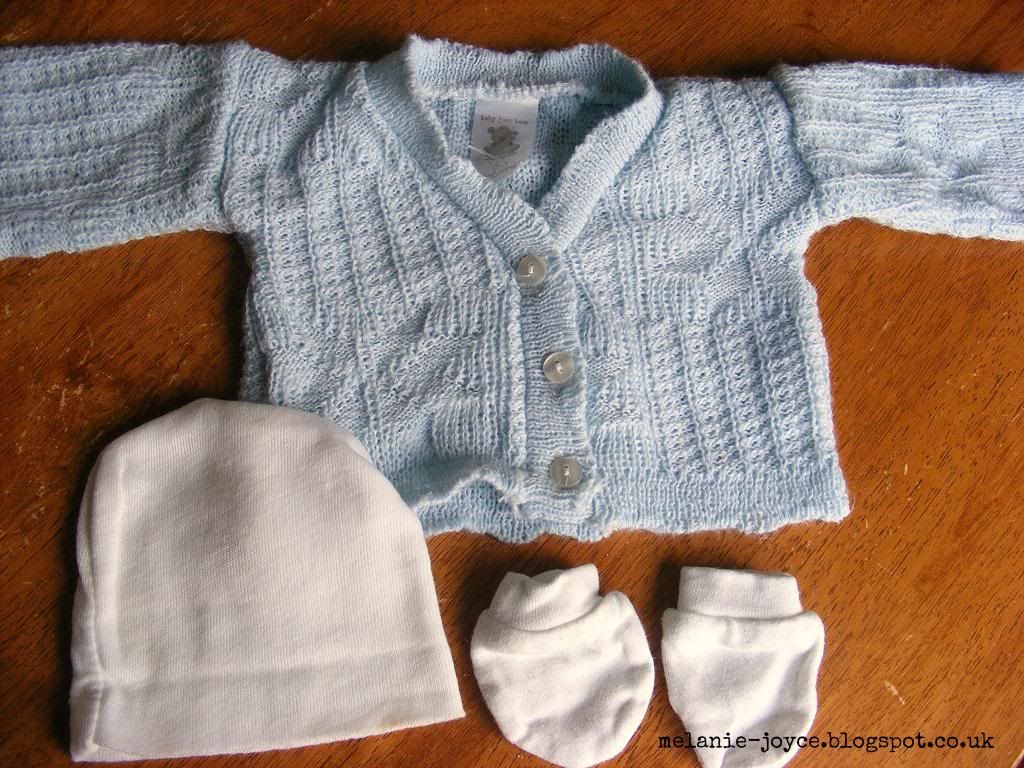
It's something a little bit different from me today - a shadow box for Simply Homemade magazine that I made quite a while ago for some precious items of Stanley's. The hat is the one they popped on his head when he was first born (and consequently it's unwashed - as if I'm ever going to wash it!), and the scratch mitts were put on his little hands the first time my husband carefully dressed him, with the help of the midwife. He wore the little blue cardigan on the way home from the hsopital. While I had lots of babygrows, being a first-time mum I was grossly unprepared for the November weather and didn't bring a coat for him and wasn't sure what a newborn wears to be taken home, so he wore about 17 layers and we used a blanket to keep him warm instead! At least next time I won't be quite so clueless.
As well as preparing the items for inside the shadow box, I also altered the frame, using white acrylic paint to create a white-washed effect on what was once a plain wooden frame. Upcycling wood and furniture isn't something I do very often, but I would love to do some more of it over the coming months. I feel an action plan coming on! So that's my shadow box, and once I get it back from the magazine, it's going pride of place in Stanley's room. That's all for now, have a great weekend :)

Friday, 4 July 2014

Exciting news!

Well, I know I ended my last post with mention of some exciting news, so here it finally is! I've joined the Design Team over at Polka Doodles and I've been beavering away the last few days creating samples for the latest release - which just so happens to be Christmas ;) After my publishing days I'm well rehearsed at working on Christmas in July - it takes a while to get into the swing of things at first, but before you know it you find yourself humming carols! I really enjoyed creating my samples and they're all ready to post off tomorrow. I'm afraid I can't show you anything just yet, but don't fear - I'll be sharing more cards I've made using the gorgeous Festive Hollybobs Work & Play collection CD over the coming few weeks.  
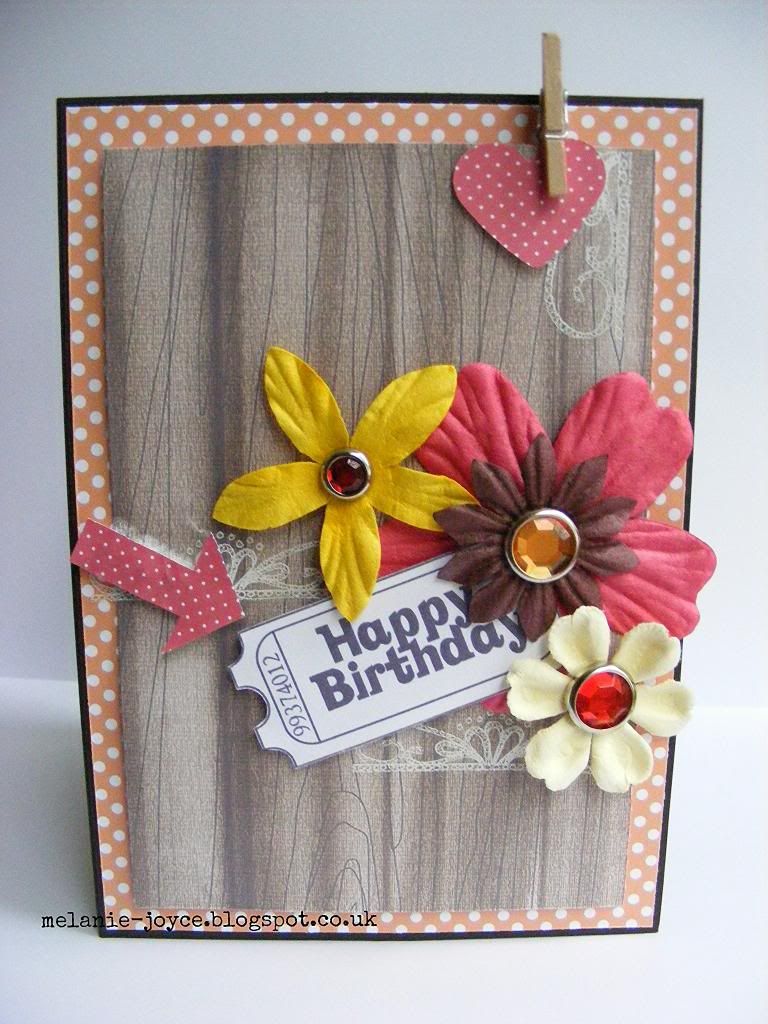
Somehow I've also been able to whip up this quick birthday card using the DIY papers and a ticket sentiment from the Polka Doodles Work and Play collection CD, with a few added bits from my stash - I'm having a bit of a mini peg revival at the moment! FYI the red spotty papers used to create the arrow and heart are actually Christmas papers taken from the brand-new CD. That's the beauty of using CDs and digital items - you have so many different designs at your disposal and you can mix and match to find the perfect item and simply print it as and when you need it. That's it for now! Thanks for looking :)

Friday, 27 June 2014

Yay for demos!

Hello again! Where does the time go? It's been over a week since I last blogged and I hate leaving it so long. Next week I promise to be better! My work days so far have been spent at a computer doing a spot of freelance sub-editing, so I haven't been crafty aaaalllll week and wow am I missing it! But while I had a chance I thought I would show you some more samples made for last week's Crafter's Companion demo. I had a fantastic time on the day and it was great to meet so many lovely ladies, many of whom stayed all day to watch me demonstrate.
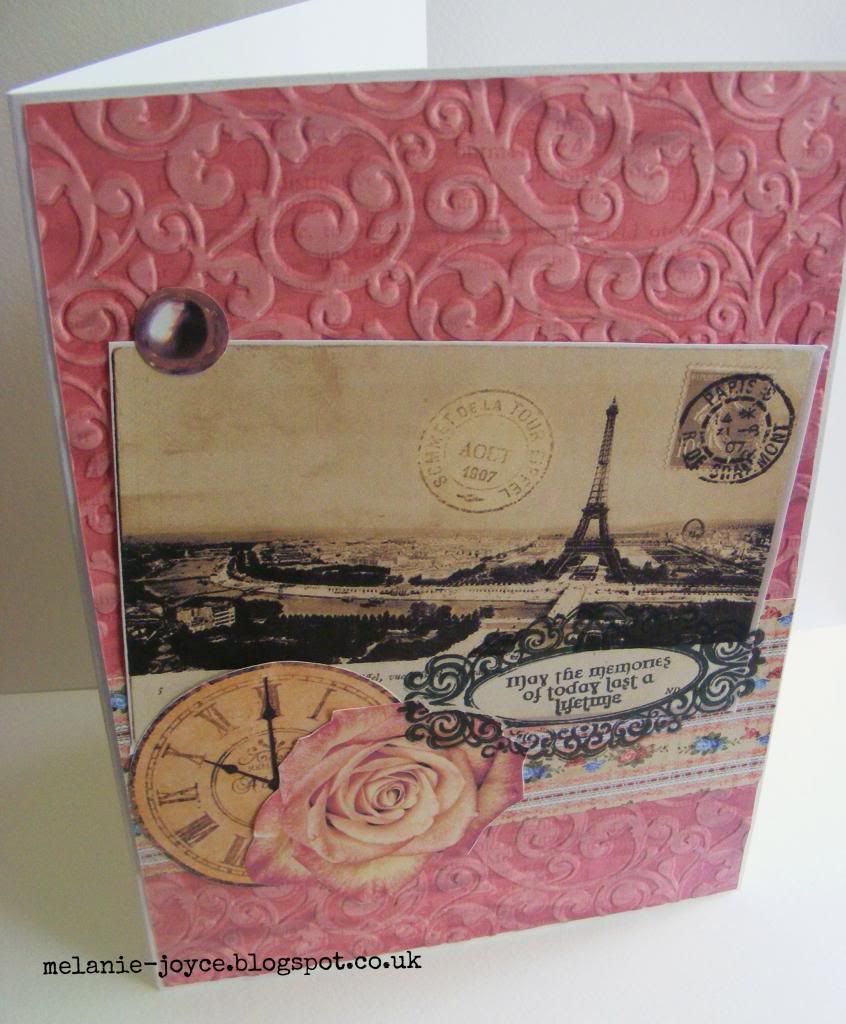
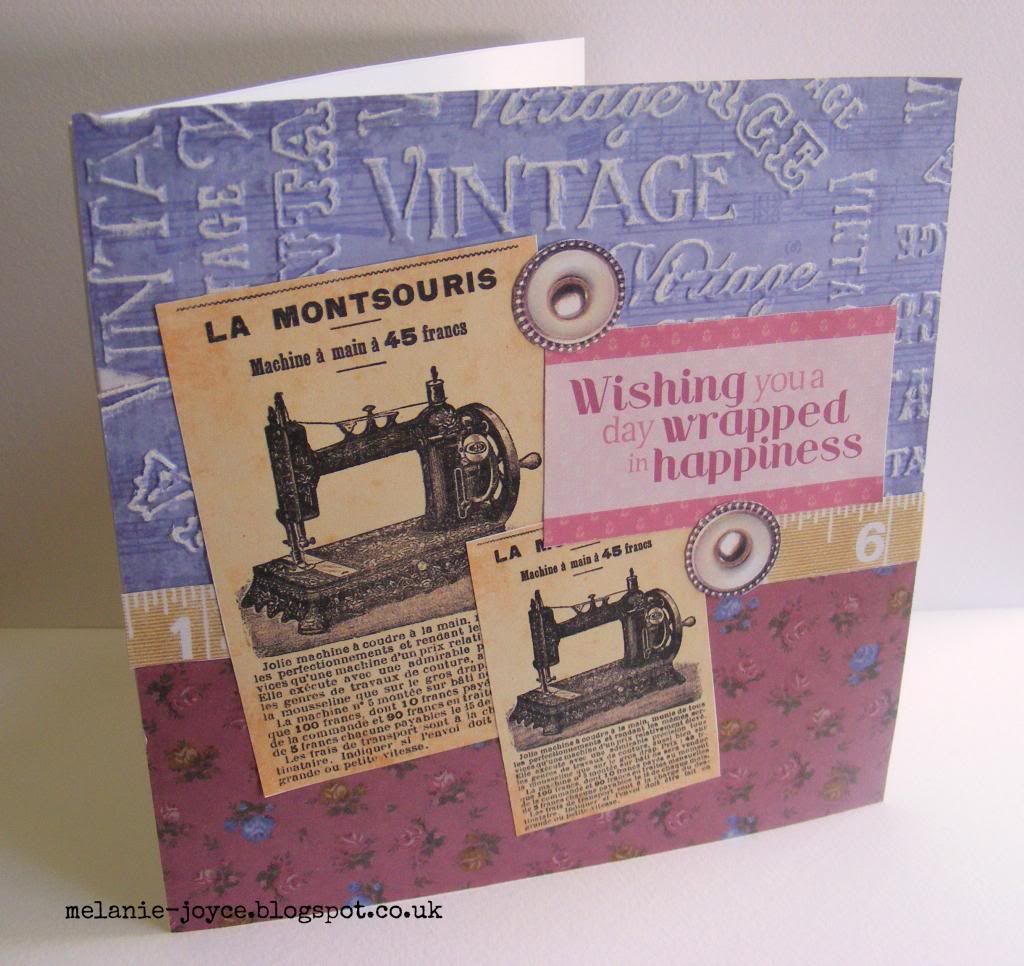
These cards were made using the brand-new Vintage Floral collection, which includes a 6x6" paper stack, embossing folders, stamps and a CD-ROM full of digital goodies to print out. The customers at Crafty Ladies in Marple particularly loved the Vintage Words folder used on the bottom card, which I then sanded with a Core'dinations sanding block to highlight.
These second cards showcase both the Angelica & Adam stamps and patterned papers and the new Spectrum Noir pencils. I kept the designs of the cards fairly simple so the emphasis was on the images themselves. I don't normally consider myself to be much of a stamper and colour-inner, but I actully got the hang of the pencils quite quickly and enjoyed using them, particularly on kraft cardstock. Oh, and as a side note, the seam binding on the first card was actually white and I coloured it pink using my Spectrum Noir markers - I LOVE being able to alter embellishments to suit my projects, it's probably my favourite thing about the markers. That's it from me for tonight, I'll be back soon with some very exciting news!

Friday, 20 June 2014

Fanciful florals

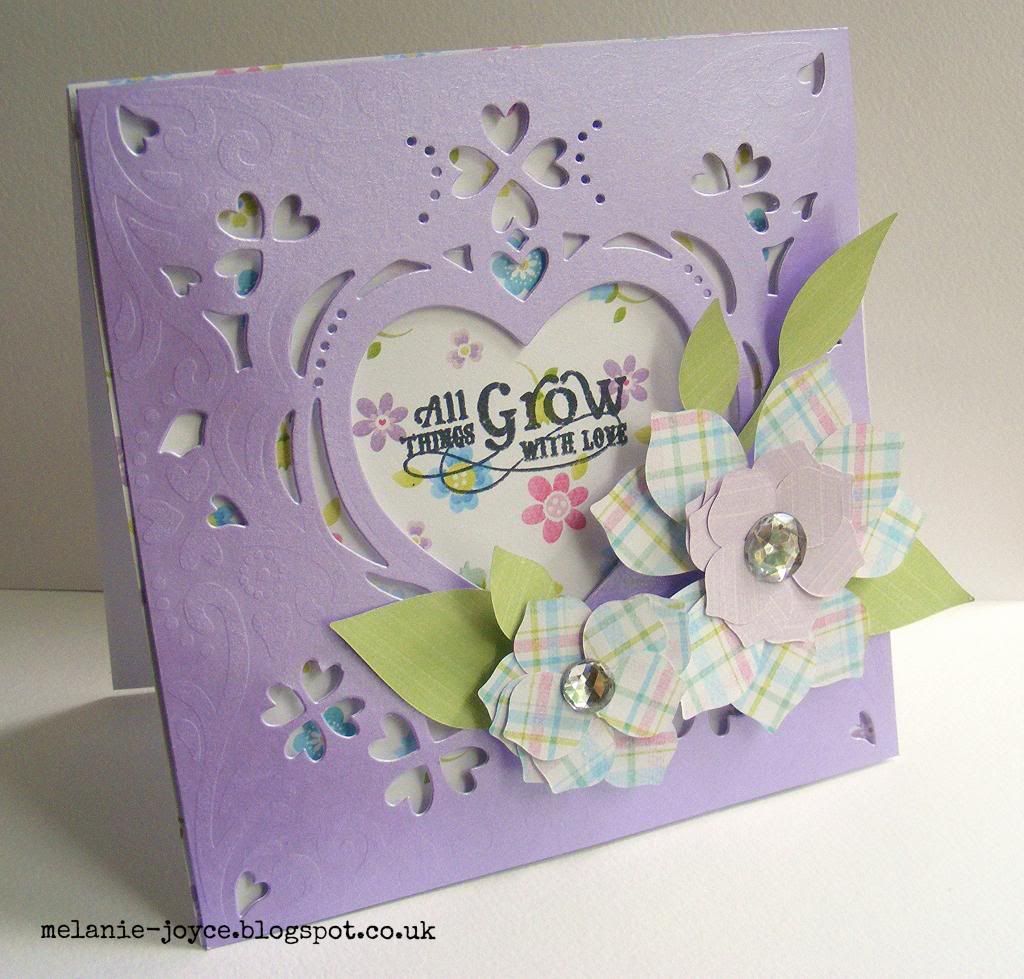
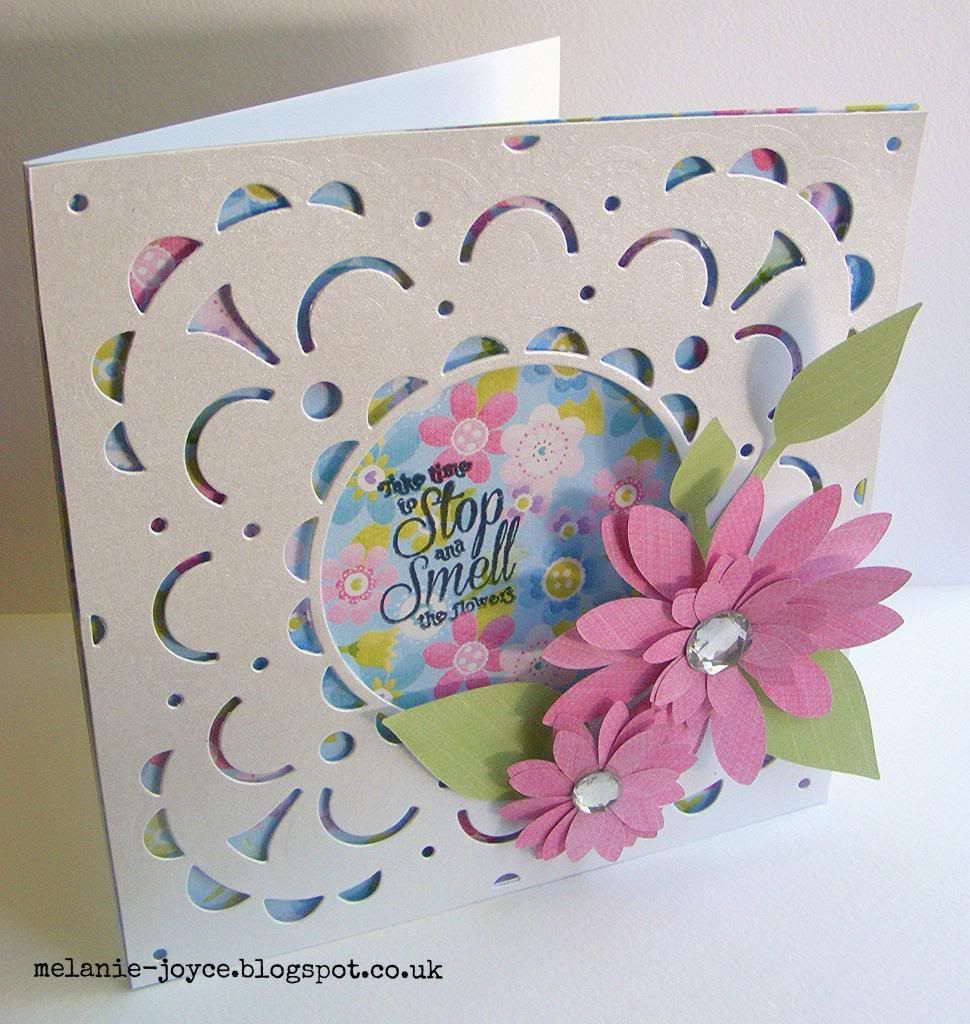
Hello again! Just a quick post to share what I've been up to this week. On Saturday I'll be demonstrating for Crafter's Companion at Crafty Ladies in Marple, Stockport. I popped by the shop on Monday and spoke to one of the owners, Pauline, who was lovely and I'm sure I'm going to have a fantastic time. We'll be taking a closer look at the Angelica & Adam range and colouring with the Spectrum Noir pens and new pencils, playing with the brand-new Vintage Floral collection (including the yummy 8x8" and A4 embossing folders) and I'll be recreating these lacy floral cards using the new Die'sire Quilling dies and Create a Card designs. If you're in the area do come along and take a look! I'll post some more cards and demo pics next week and let you know how I got on. Have a great weekend :)

Wednesday, 11 June 2014

Simply Cards & Papercraft issue 124

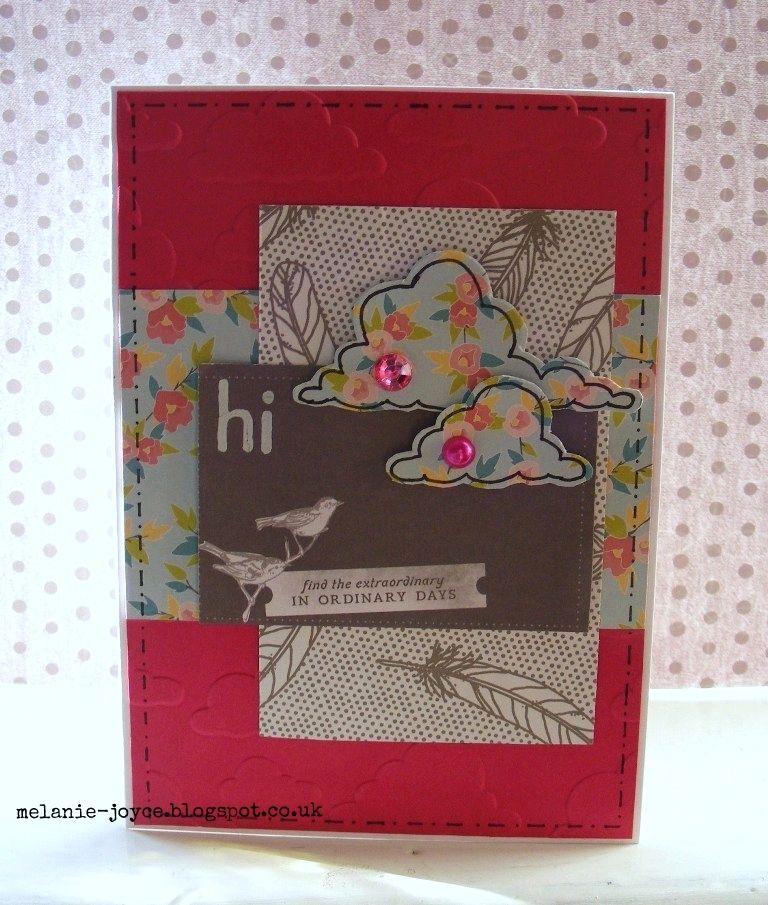
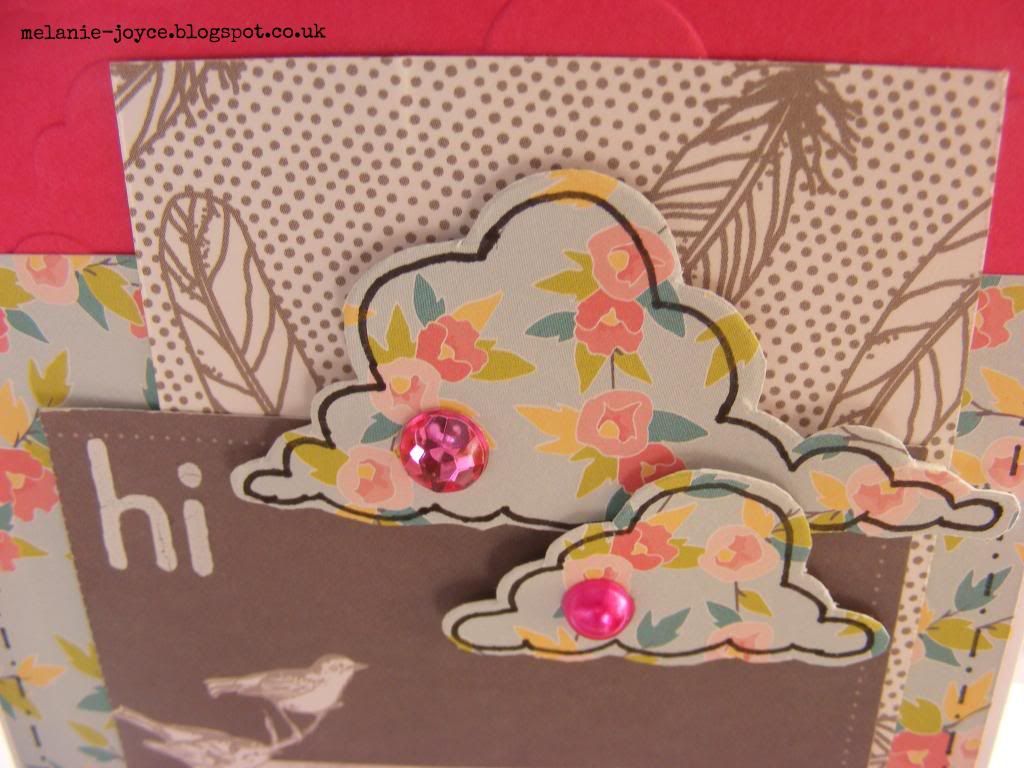
Hello lovelies! I'm back with some more cards tonight. This time they're projects that were featured in the Cardmaker's Challenge in the latest issue of Simply Cards & Papercraft, and the brief was to incorporate feathers into my designs. My first thought was this fab greyscale feather-patterned digital paper from American Crafts. It's so striking and looks amazing teamed with hot pink cardstock.
I also used my Die'sire Embossalicious Clouds embossing folder for the first time - it's quite possibly my favourite at the moment. As well as embossing the hot pink cardstock, I also embossed a scrap piece of patterned paper and cut out two of the clouds to make these embellishments. I was really pleased with the finished effect!
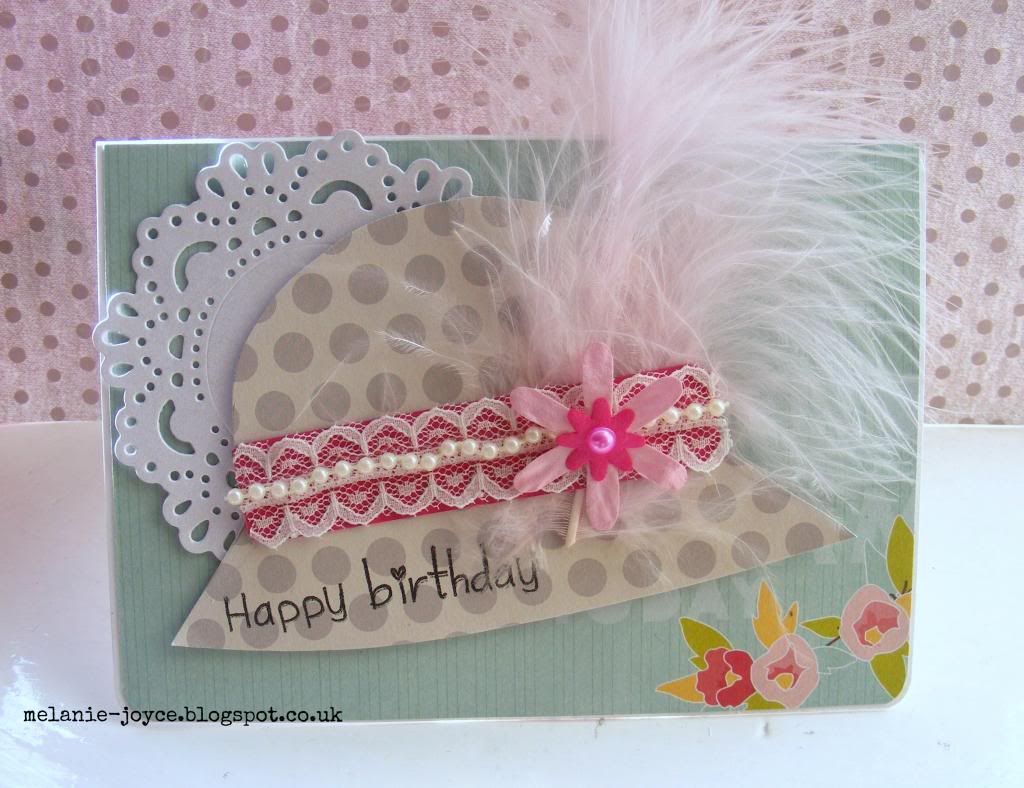
The second card uses an actual Marabu feather as its focal point. I didn't have any hat stamps of the right size, so I opted to hand-cut a hat shape from polka dot patterned paper instead.
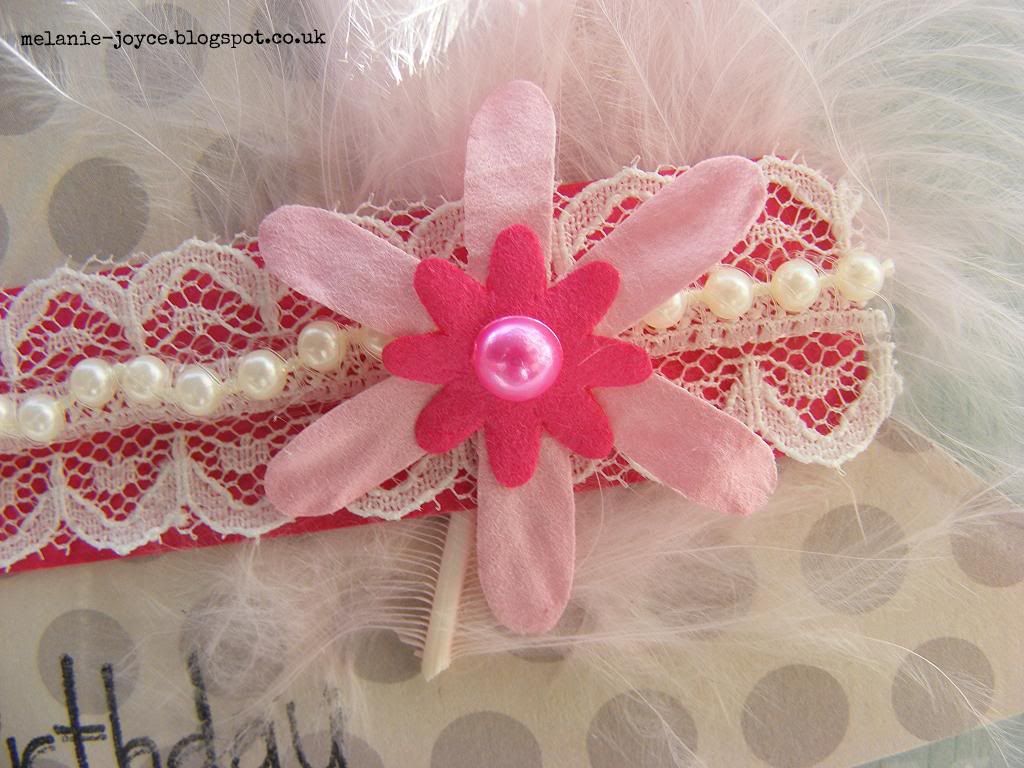
I finished it off with a stamped sentiment, a lace trim, pink flowers and a pretty pink pearl. Two very girly cards, which feels like a bit of a departure from the last few commissions I've done lately. I do hope you like them :)

Monday, 9 June 2014

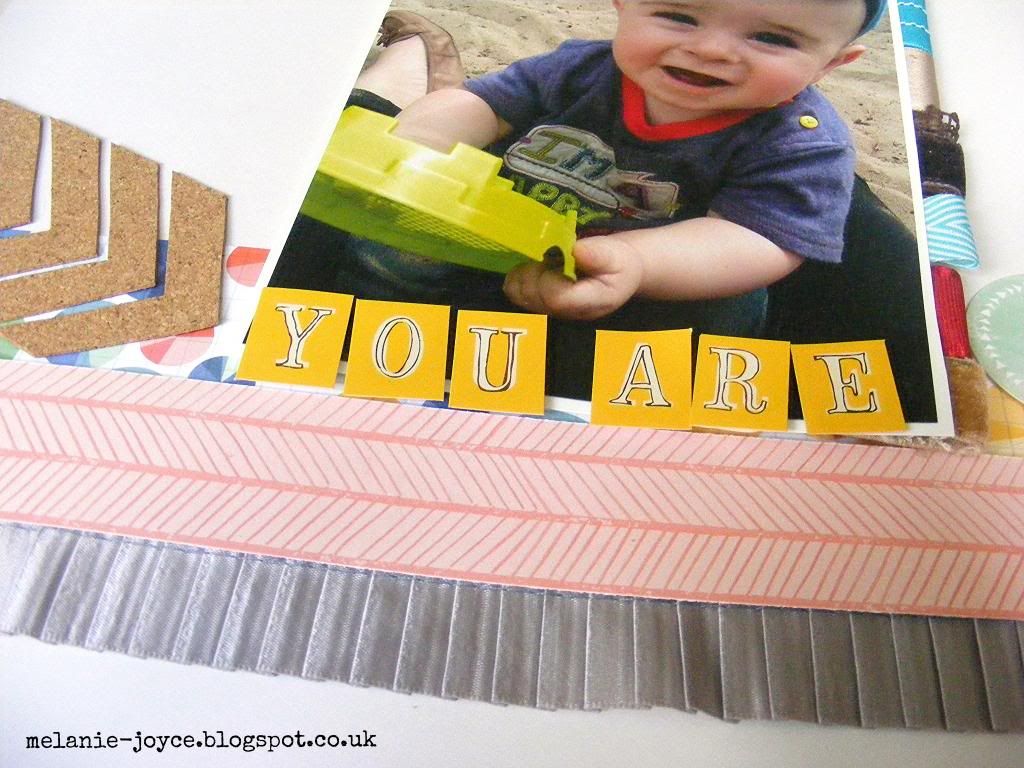
You Are So Loved - May Arts DT submission part 3

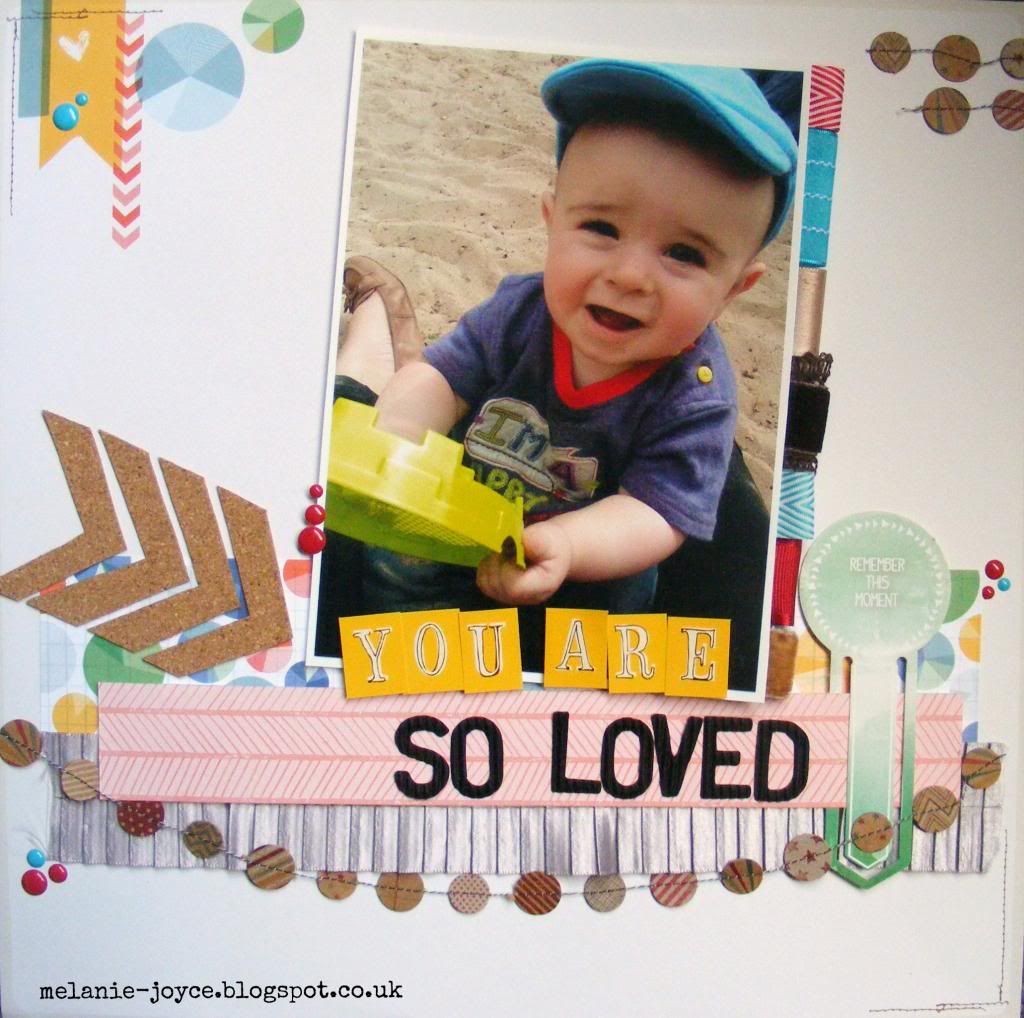
Hello again! Here is my final project for the May Arts Design Team call, and it just had to be a scrapbook layout. I predominantly make cards (as mostly I get commissioned for cards), but I adore scrapbooking, especially since my little pud came along. Any chance I have to scrapbook, I take it!
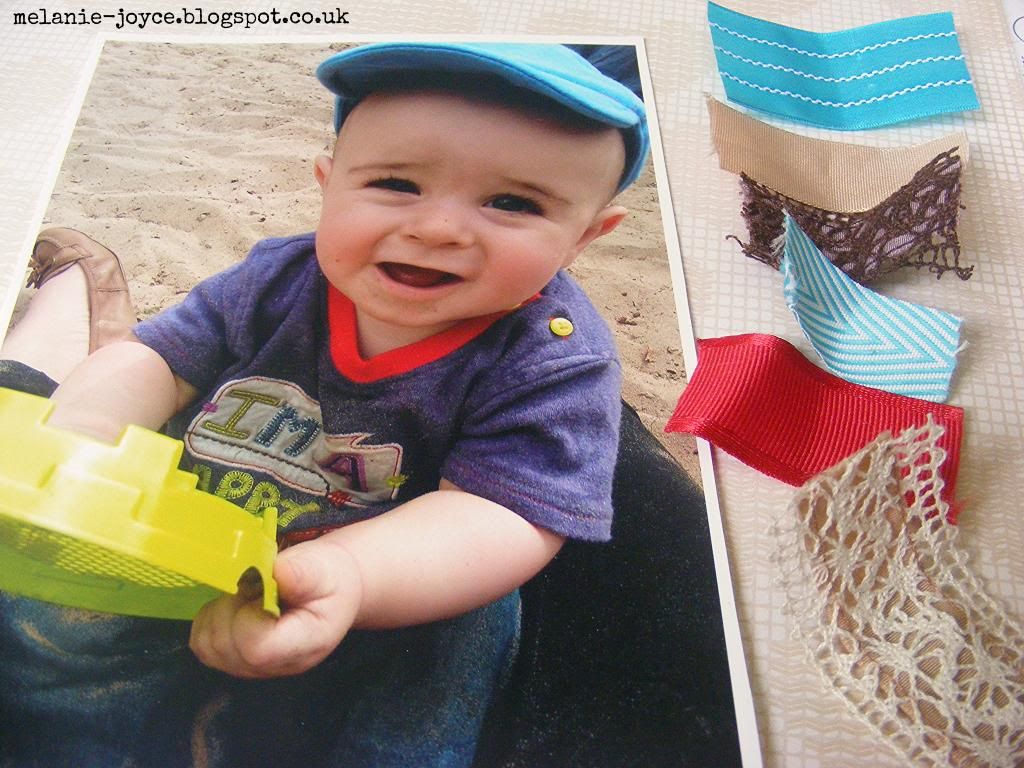
To begin with, I made the ribbon tabs for the right-hand edge of my photograph. I cut various pieces of May Arts ribbon to match the colours in the photograph, ensuring there was enough to fit down the whole length of the image.
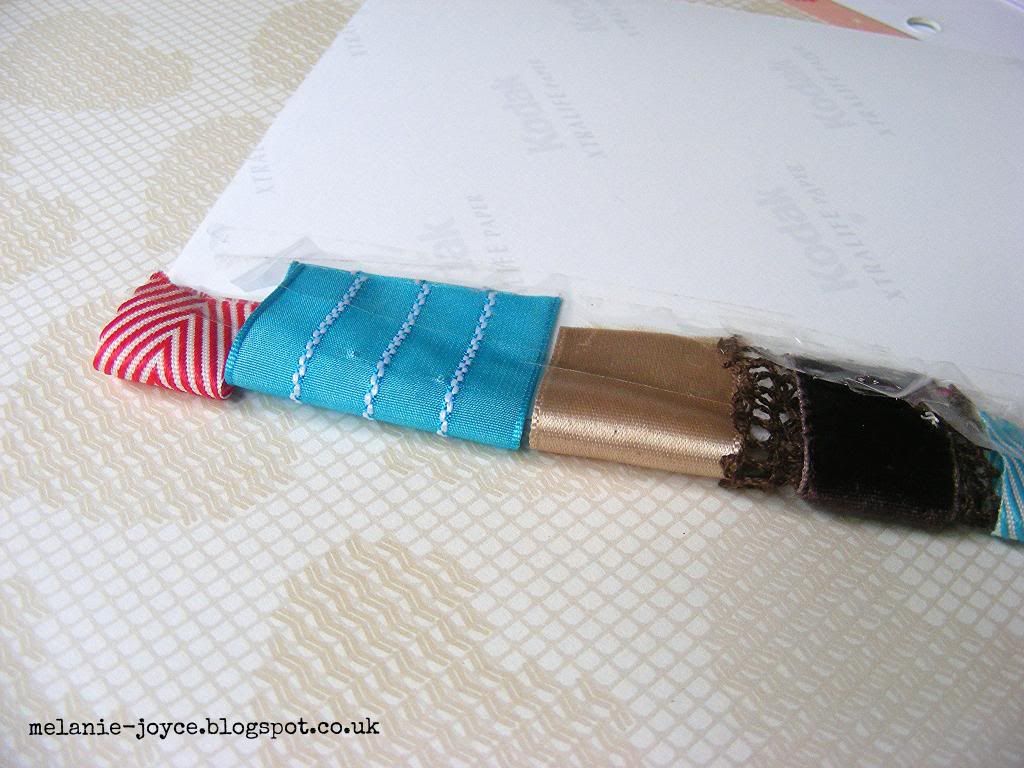
I folded each piece of ribbon into a loop and secured them down the edge of the photograph with sticky tape - I find this provides a much more secure adhesion for this than glue or double-sided tape.
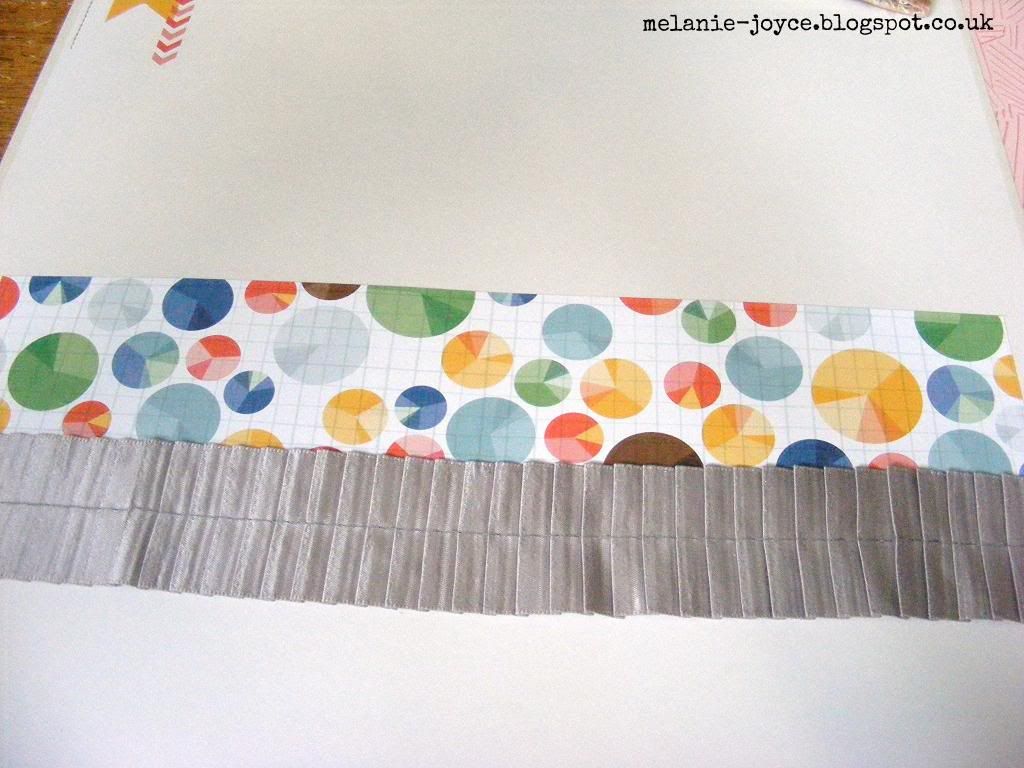
I trimmed a strip of American Crafts Amy Tangerine Ready Set Go On The Clock patterned paper and layered it across the centre of a Why Thank You 12x12" sheet. I then adhered a length of silk ruched ribbon across the bottom of the strip.
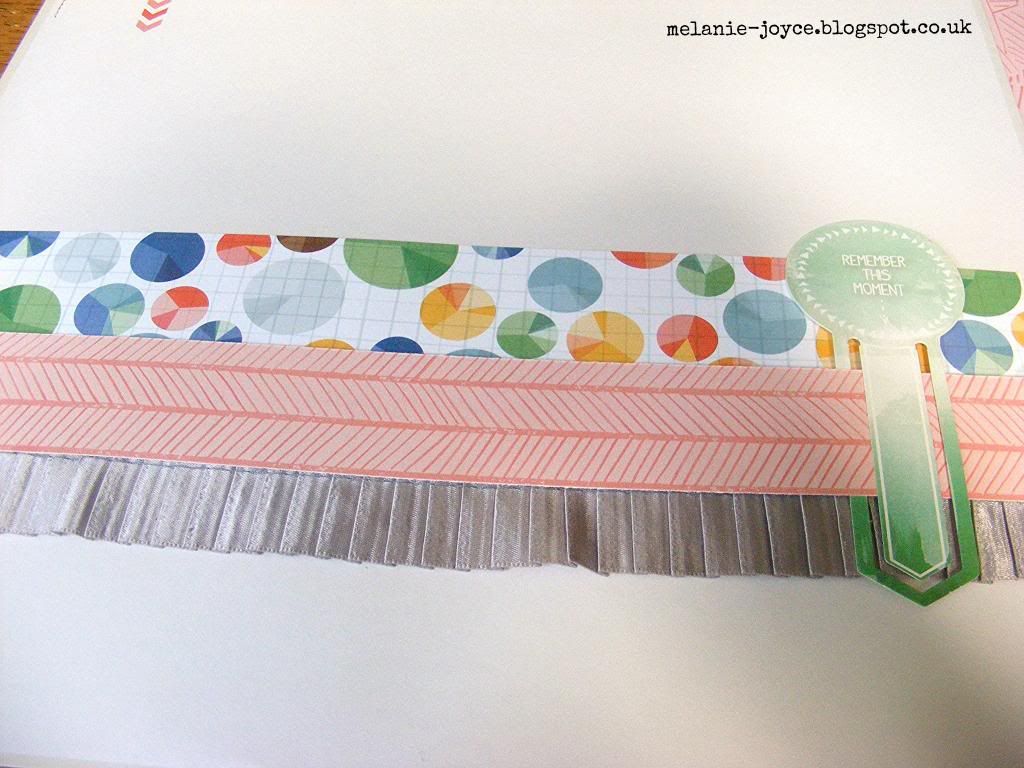
I trimmed a thinner strip from the reverse of the On The Clock patterned paper, then threaded a large Glitz Design Finnley die-cut clip onto the right-hand side.
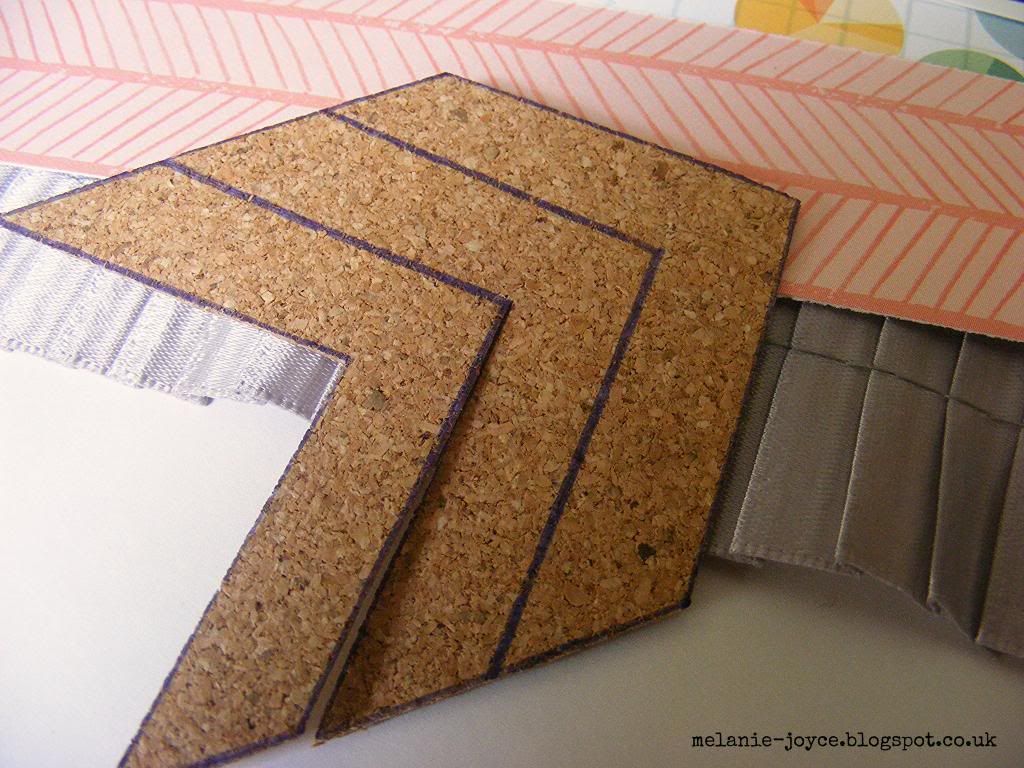
I used a ruler and pen to hand-draw chevron shapes onto a cork sheet, then carefully cut them out. These cork sheets from DCWV (Die Cuts With a View) are so versatile - I love using them to create my own embellishments!
I mounted my ribbon tab photo onto the layout using 3D foam pads, then adhered the chevron shapes to the left-hand side. I added the first part of my title using Amy Tangerine stickers.
The title was finished with Amy Tangerine Ready Set Go corrugated Thickers, then I added a kraft garland from the My Mind's Eye Kraft Funday collection. I also attached a few strips of this to the top right-hand corner of the layout. To finish, I scattered red and blue Simple Stories enamel dots around the edges of the paper strips. I'm really happy with the way my layout turned out, and I so hope you like it. I had such fun designing these projects for May Arts - fingers crossed I'm successful!

Sunday, 8 June 2014

Thank You ribbon panel - May Arts DT submission part 2

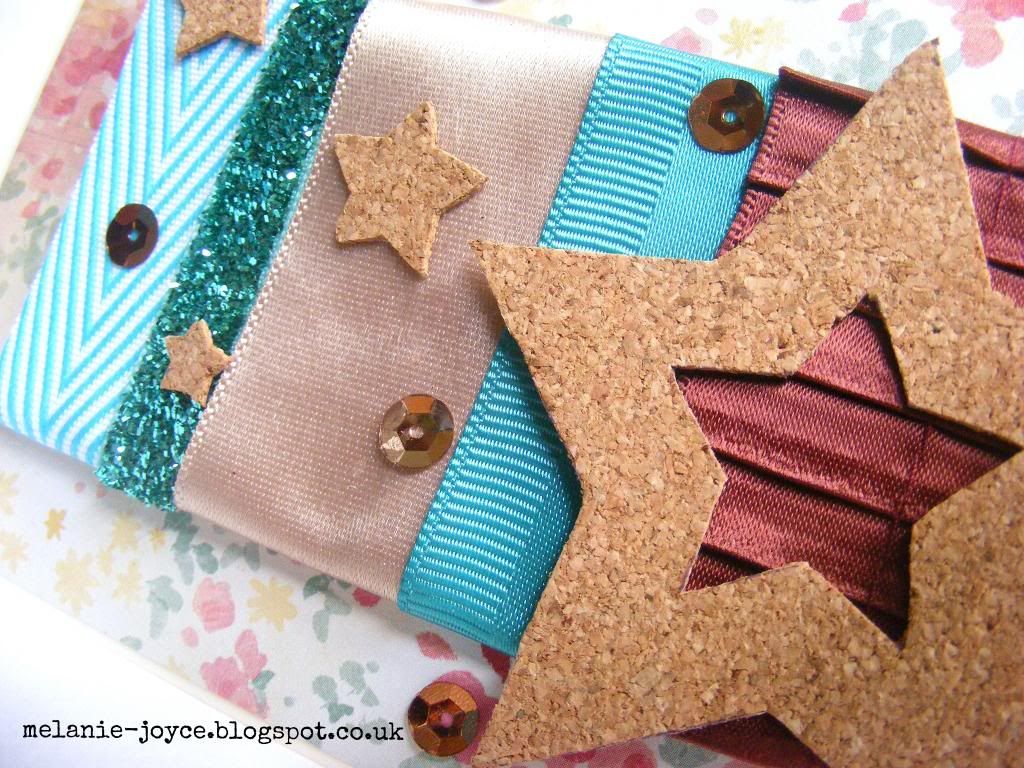
Hello everyone! Hope you're enjoying this good weather - we're having a family day. Tonight we're going for a meal to celebrate Stanley's great-grandma's 80th birthday, and this morning we went out and had a go on a miniature steam train with Stanley - he loved every minute of it! Now while he naps I'm back with another card for my May Arts Design Team submission. For this one I decided to create a ribbon panel, using various different textures, colours and widths of ribbon. I absolutely ADORE the glitter ribbon I've used here, and the photo doesn't show just how beauiful and sparkly it really is!

I wanted the ribbon to be the star of the show and could have left the panel how it was, but I thought it looked a little too plain and simple, so I added more dimension and texture by using a template to hand-cut these stars from a sheet of cork, then finished off with a sprinkling of sequins. Sequins are my new craft obsession - they make an eye-catching change from the usual pearls or gems, and they're cost-effective too! I think it's going to be a while before I'm over this particular obsession. That's all from me for now - back soon with part 3 :)
Related Posts Plugin for WordPress, Blogger...